Antipyretics for children are prescribed by a pediatrician. But there are situations of emergency care for fever, when the child needs to give the medicine immediately. Then the parents take responsibility and apply antipyretic drugs. What is allowed to give to infants? How can you bring down the temperature in older children? Which medications are the safest?
Apartments today are simply filled with a wide variety of electrical appliances. Accordingly, there are often situations where installation, replacement, connection of electrical outlets, lighting fixtures, troubleshooting in an electrical circuit is required. The voltage indicator will help in carrying out these works.
There are a lot of samples of such devices: from simple (screwdriver - indicator) to digital multimeters. They are able to show if there is voltage in the electrical equipment, determine the resistance level of the circuit, and other parameters.
On sale, you can find even devices that allow you to detect a wire break, hidden under a layer of plaster.
Types of measuring devices
For work with low voltage electric networks (up to 1 kV) use two types of indicators:
- single-pole, showing the passage of a capacitive current;
- two-pole, supplying a light signal when an active current passes through them.
Each type of these devices has its own characteristics.
Single-pole measuring instruments
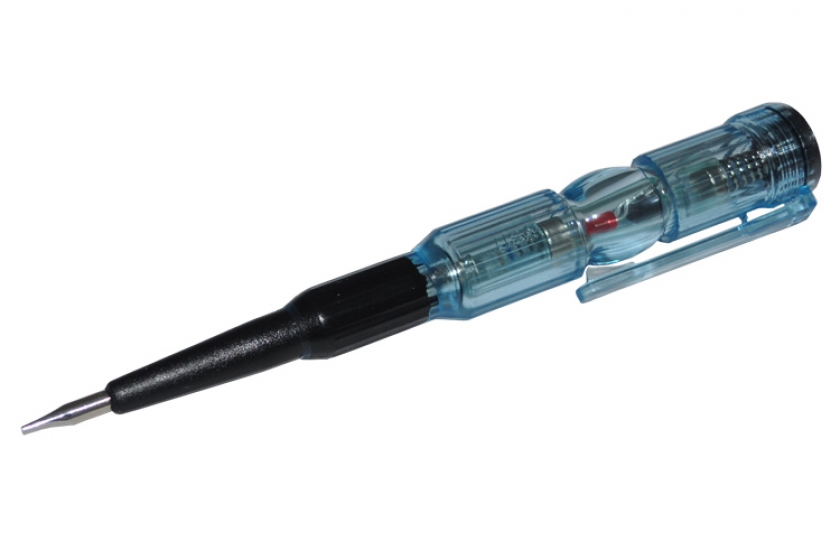
The single-pole indicator circuit includes an alarm neon lamp and a resistor. The elements are placed in a dielectric transparent case with a protruding contact (sting). At the other end, this phase indicator is equipped with a flat contact on the head. External appearance, it looks like a screwdriver, so the device is called - a screwdriver indicator.
Important! When working with high-voltage networks, care must be taken to ensure that safety precautions are taken before finding phase and zero!
It is recommended that the indicator be tested before using the indicator, touching the electrical conductor, which is exactly under current. If batteries are used in the test driver, check it by touching both the contact-lug and the plate on its head. The tester screwdriver can be used with a mains voltage of not more than 1000 V! The elements used in it are simply not designed for a higher voltage. When using, it is strictly forbidden to touch fingers with the fingers of the indicator! The sting is, as a matter of fact, bare conductor, if you touch it to the contact, which is under tension, and simultaneously touch it with your finger, it will shock you! Therefore, when working, keep the screwdriver only by the handle! 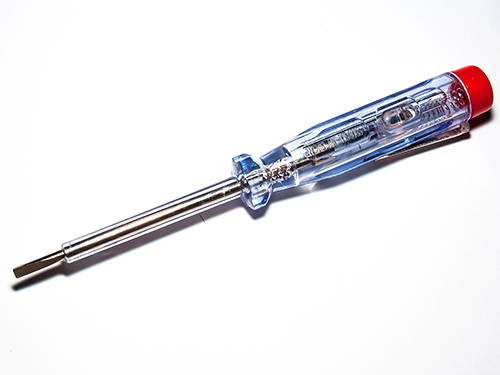
It's easy to use a screwdriver. In order to check the presence of voltage in the circuit, you need to touch the contact on the index head with your finger, and with a sting to the bare conductor or current-carrying part of the equipment. If they are energized "neonka" will start to glow.
How to determine the phase
Having studied the instructions attached to the device, you can easily understand how to determine the phase and zero by an indicator screwdriver. To do this, to either of the two wires being tested, you need to touch the contact-tip of the screwdriver, closing the finger on the plate on its handle. If the neon light is on, then this is the phase, otherwise the other wire is zero.
Varieties
In electrical stores several varieties of single-pole devices are sold: a simple screwdriver with an indicator (neon lamp), a screwdriver with a battery, a multifunction screwdriver-probe. They differ in their capabilities and the way they signal (light or sound):- Simple screwdrivers-indicators with a neon bulb. They consist of a metal probe (sting), a plastic casing, a resistor of high resistance, a neon light element and a contact metal plate placed on the head. The device of the indicator screwdriver is the simplest. It determines only the phase conductor, as well as the presence of voltage. The positive side of such devices is their ease of use, lack of battery, reliability. How to use the indicator screwdriver? Everything is very simple. You just need to touch it with a sting to the exposed wire or socket outlet, and touch the plate on the handle with your finger. If there is a voltage in the circuit, the current will flow through the stub, resistor, light bulb (causing it to glow) the human body, which will become part of the chain when the finger touches the contact on the handle. If you remove your finger from the contact, the light goes out. In the absence of voltage, or damage to the wiring, the screwdriver-tester will not glow.
- Screwdrivers-indicators with batteries and LED elements. Externally, these devices are similar to the previous devices with a slight difference: to find the phase wire, you can not touch the contact plate at the end of the screwdriver. In addition, such a device can be called electrical wiring for the presence of discontinuities. To do this, touch the sting to touch one end of the chain, touch the other end of the chain and touch the contact on the head of the tester with your finger. If the circuit is OK, the LED element will light up. An indicator screwdriver with a battery costs slightly more than usual.
- Advanced screwdrivers-indicators. Devices with a lot of functions and more complex stuffing, but differ all the same principle of the indicator screwdriver. They allow not only to determine the phase or ring the wires, but also suitable for non-contact detection hidden wiring under a small layer of finishing material. Due to the high sensitivity of the devices, it is possible to determine the phase through one insulating layer of insulation without damaging it. They are inexpensive, accurate, simple and understandable in operation. For example, an excellent choice for domestic work on electricians, will be the indicator screwdriver Safeline MS-18. This device will make it easy to detect the presence of an AC voltage up to 250V by a contact method (can detect phase and neutral wire). It can also be used for a non-contact method of detecting hidden wiring (up to 600 V). It is able to find the place of wire rupture in a non-contact way, ring the circuit, and also set the polarity of the battery or battery (up to 36 V). With this number of functions, the model is inexpensive (on average 250 rubles). To select the test modes (contact / non-contact), the screwdriver is equipped with a switch. Such devices will become universal "detectors" of wire breaks under a layer of finishing material. In their scheme there is both a light and a sound indicator. If necessary, the multifunction indicator screwdriver can be customized for specific jobs.
How to check the damage to the wires hidden in the wall? For this, an indicator electronic screwdriver is used. Having switched it on and setting the switch to contactless mode of operation, it is necessary to slowly lead the stylus of the tester screwdriver along the wall along the route through which the wires from junction box to a switch or outlet. In the place where the cable is damaged, the indicator light will go out.
The cost of most models of indicator screwdrivers is small. Functional enough to test electrical circuits at home.
Devices of bipolar type
The bipolar indicator has two housings made of dielectric material and connected together by a thin wire about a meter in length (for different manufacturers it can be different). Each of the bodies has a contact tip, a neon light element (a discharge lamp, an LED) and a resistor. More advanced models are equipped with sound signaling. 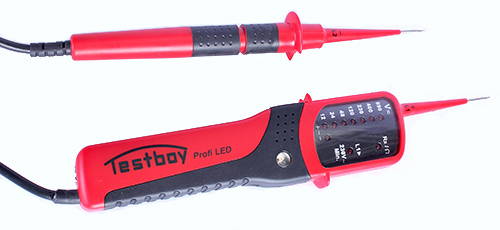
Using two-pole indicators, the presence of a current between two contacts of the network or equipment is checked by touching the stings of the device. There are quite a lot of such devices. They are different, above all, their functional. Two-pole pointers are considered to be professional instruments, they are distinguished by higher accuracy (they can measure AC voltage with accurate threshold values from 6 to 380 volts), therefore they are used for complex work (connection of machine, electric motor). For example, they can be used to determine phasing (phase connection) in a 380 V network with a three-phase load.
Important! For domestic needs (at voltage up to 1 kV) there are no restrictions on the use of indicators. When checking networks and electrical installations with voltages above 1 kV, it is mandatory to use dielectric gloves.
The simplest pointer of a bipolar design (as well as a conventional screwdriver with a voltage indicator) can only detect the presence of voltage (devices of the UNN series, PIN, MIN and others). More functional models make it possible not only to check the voltage on a particular segment of the circuit, but also to determine its nominal value, polarity. In addition to neon light sources, LEDs are installed, the device can also have its own sound sensor. The sound signal function is useful when inspecting wiring in dark rooms.
Digital Multimeters
Very popular among professionals are digital instruments that measure voltage - multimeters. This universal device for an electrician, it allows you to test several characteristics of the electrical circuit: voltage, current, resistance. In addition to sound and light signaling elements, the device is equipped with a digital display. 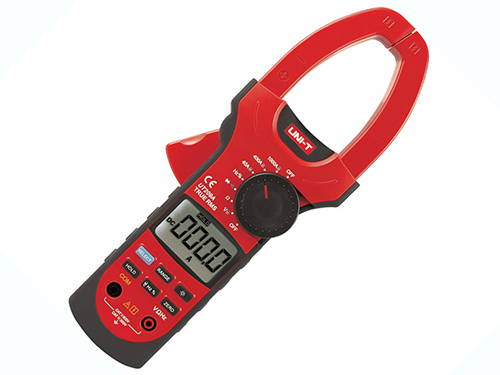
In addition, special current clamp meters can be purchased, allowing you to measure the current without damaging the insulation of the wiring. Some models are equipped with a temperature sensor to check the temperature of electrical equipment - distribution cabinets, choppers, electric motors. Such devices, as a rule, are used by those specialists who by the nature of their activities have to visit substations with complex electrical equipment.
Homemade devices
The voltage indicator is a mandatory attribute in the work of an electrician. And what to do when there was no factory tester and you need to check the presence of voltage in the network? You can make a test yourself. Before you make the voltage indicator, you need to repeat it again. The contact stub of the indicator is connected to a resistor, it is needed to limit the current flowing through the human body to a safe value, which in turn is connected to a neon light bulb, and it is connected to a contact plate that is closed with a finger during operation.
As a resistance element for greater safety (to avoid electric shock when working with high voltage), it is recommended to apply either one 1 MΩ resistor or if there is none, two resistors with a nominal value for each not less than 500 kΩ, which are connected in series. As a light element, you can use any gas-discharge indicator lamp, even the use of a neon lamp from a starter, which works in conjunction with fluorescent tube lamps, is allowed.
A piece of thin steel wire or knitting needles can serve as a sting. For a closing contact on the handle, any thin metal plate will do. All these elements are joined (soldered) in the sequence described above. For example, a transparent pen or a marker with thin walls (you can cut a hole in the case under the lamp, if it is opaque). Knowing how the indicator screwdriver works, it is possible to do it yourself.
If you check the electrical circuit for the presence of voltage urgently, and there is no time to fiddle with the soldering iron and complex construction, you can apply an even simpler method. It will only need a light bulb from the starter and a high-resistance resistor. A resistor is screwed to one of the lamp's contacts and a self-made voltage indicator is ready!
It is enough only to take up the contact of the resistor (by another contact it is screwed to the lamp), and the free contact of the lamp will act as a sting of this homemade article. They need to touch the cable being tested. If the wire is live, the lamp will light up. This probe is suitable as a temporary means when there is no shop tester near at hand.
If you find a bug, please select the text fragment and click Ctrl + Enter.
- Operation of the tool
- Tool Usage
During the execution of any type of repair work, first of all, the issue of electrical safety arises. It is due to the fact that an unexpected discharge electric current will lead to injuries and other unpleasant consequences. To understand whether the wires are live, the usual indicator screwdriver will help.
The purpose of the indicator screwdriver
To understand how to use such a tool, you need to know the order of the current supply. All the wires that are available in the house / apartment are fed from a common electrical board that distributes the voltage across all the rooms in the house. The current travels through the phase conductors, which are constantly energized. Return it to switchboard is carried out on zero wires (mass). At that time, when the electrical appliance is disconnected, the ground wire does not represent a hazard.

In order to understand which wire performs the function of the phase, and which is the mass, a tester or indicator screwdriver is used.
Before starting work with wires or all wiring, you need to understand what a screwdriver tester is, how to use it and in good condition it is located. To do this, you must test the tester on the connected power source. Such a probe can be an ordinary socket, which is in good order. In this socket you need to insert a stinger tester screwdriver, and if the light bulb does not light up, then the tool needs to be replaced. During the test, do not touch the shank / tread of the tester in any way.
In order to prevent damage to the screwdriver, it is not used in the normal mode. Since the shank of such a screwdriver is made of soft alloys, you can not turn and twist the various screw joints with such a tool.
Back to contents
Operation of the tool
The simplest tester allows you to determine only the wire with the phase. Modern models make it possible to determine the mass conductivity. Moreover, modern electrotechnical tools are able to detect the presence of voltage even in hidden wires under the plaster.

Externally, the tester with the indicator does not differ from the usual slotted screwdriver, but it has a body made of transparent plastic. In this housing soldered a small resistor, which is connected to a diode lamp. This light comes on when the working tip touches the live phase.
In the work of such phase determinants, the person himself, or rather, one of his fingers, becomes an integral part of the work. The thumb of the hand in which the instrument is located must be placed on the opposite end of the tester. This procedure closes the circuit.
Since the built-in resistor has a high resistance, the current flowing at that moment along the human body will be very small and perfectly safe.
If the screwdriver is out of order for some reason, then the light element will not light up. In the event that the instrument is defective, such a screwdriver is not repaired by one's own hands, but is only to be replaced completely. Do not be afraid of a broken tester, he does not represent any threat to human health.
Back to contents
Tool Usage
There are several basic works that allow you to perform a similar screwdriver. Most often it is used to test the efficiency of outlets and switches. Also very often it allows you to check the working state of the various extension cables perfectly safely.
Moreover, it is possible to check with such a phase determiner not only the presence of a phase voltage, but the presence of a ground. To perform such a test, it is necessary to touch the contact of the phase of the socket with the tool's working tip. This contact is made in the form of a copper strip, which is located next to the input holes for the plug.
The indicator screwdriver is used to check the operability of the switches and sockets.
If the light element does not light up, the grounding is working. The opposite situation means that the grounding is "punctured", therefore, it is necessary to perform a check of the entire electrical wiring.
Very often, using a hand tester, you can determine the phase of the chandelier or other light devices. The phase currents must be on the internal contacts and in no case on the threads. If there is a reverse situation, it is impossible to use such a light device to avoid the closure of all wiring.
Checking the supply of current in this situation should be carried out very carefully, since simultaneous contact of both contacts will lead to a short circuit of the entire circuit.
Also, such screwdrivers can be used when there is a loss of voltage in the network, which can occur due to excess currents transitions to any household appliance. In this case, it is necessary to connect this device and install a device sting on its housing. The dim glow of the light diode will indicate the presence of a leak. If, on the contrary, the light has become much brighter than usual, then it is observed direct connection phase to the housing. In both such cases, the light device should be immediately disconnected and repaired.
We use such a tool in everyday life not very often, but there are times when its availability is simply necessary.
Despite the safety of the indicator screwdriver, work with the electrical wires It is necessary to entrust to the masters of electricians.
Since any careless movement when working with electricity can lead to sad consequences.
Since childhood, we are taught not to put anything into the openings of the outlet. And it is absolutely correct, since such a reckless act threatens to produce a painful, and in some cases even a lethal discharge of electric current. But there is a special device that is designed specifically for this use. This indicator screwdriver, which will be discussed later.
The device and the principle of operation
Why prevail childish and well-founded fears and insert into a product very similar to a conventional screwdriver? In order to check its serviceability and think about a further plan of action: start repair yourself or call a qualified electrician.
You can ask on this occasion a fair question: "And if it kicks up?" No, it does not.
It's all about the features of her device, which looks like this:
- Sting is the contact part of the device. It should be inserted into the socket, or leaning against bare wires;
- Resistor It has a very high resistance, thanks to which you do not get dangerous electric current coming into the stinger;
- Neon lamp - this is directly the indicator itself, which, if there is a voltage in the object under examination, begins to glow;
- Spring improves contact with the contact plate;
- Contact plate. And here is the most interesting: it contacts with your finger. That is, in fact, it would be better to add one more element to the device scheme: you!
Thus, the principle of the indicator screwdriver is quite simple:
- Current from the energized element passes through the attached probe;
- Then "crashes" into the resistor, the resistance, which is more than 0.5 mOhm. Such a barrier weakens the current to a safe level for the human body;
- AND lights a neon bulb, thereby demonstrating the presence of phase and the serviceability of the wiring.
Varieties
What kind of indicator screwdrivers are there? There are three main types:
Classical
It is this tester that we have already discussed above with you.
Its advantages can be written:
- Practicality and durability. This elementary device can be stored for many years among your tools, without requiring any attention to yourself, and to help out at times when it is necessary to check electrical circuits;
- Low price . The simplicity of the device clearly demonstrates that there is no need for large resources to create such a device, hence, there is no place to take expensive from here;
- Elementary instruction manual. Stuck the stinger in the socket and put a finger on the contact plate. What could be easier? The light bulb - the phase was lit up, did not catch fire - zero or a breakage.
Only do not touch the metal part of the dipstick plugged into the socket by hand. This is fraught with electric shock.
But there are also disadvantages:
- High threshold of perceived stress. The instrument will work fine only if there are sixty or more volts on the network;
- The presence of only the contact method of testing.
With LED
Externally, these devices do not differ from the above products.
But inside, they are supplemented with a battery and a bipolar transistor:
A simple way to distinguish an autonomous pattern from an ordinary one, as well as to check its efficiency is to lean a finger of one hand to the contact plate, and the other finger to the igloo. The light should be on.
Touch the contact plate in this case when testing the outlet is not needed.
In addition, there are a number of positive aspects:
- The possibility of applying a contactless method To check the movement of electrical current in the wiring. For this it is sufficient to bring the reverse side of the screwdriver against the wire insulation;
- Expansion of the application area of the device:
- Now you can check the piece of wire for a break, simply attaching its bare ends to the probe and the contact plate, respectively;
- To test the lamp's base, touching it with a sting before it;
- Learn about the ingress of electrical current to the body of metal equipment. In this case, it will also be necessary to touch the working part with it;
In all the cases mentioned, the LED light will "wink" at you;
It is strictly forbidden to use an indicator screwdriver as a normal screwdriver for tightening screws or bolts. The material of their probe is simply not designed for such loads.
- The possibility of testing force cells, the voltage of which is even less than 60 V.
But there are also disadvantages associated with such an upgrade:
- Excessive sensitivity system plays not only in plus, but also in negative. A light bulb can light up even when there is no current in the object under study. Therefore, before using a screwdriver-indicator equipped with a battery, make sure that nothing can affect the measurements made;
- Depend on battery. Periodically you have to change autonomous source power supply.
Universal
Inside this device, you can already find a chip that extends its capabilities.
So, for example, he has three modes of operation, which are set by switching a special the slider to the appropriate elevation:
- "О" - the presence of voltage in the implementation of contact testing is notified by turning on the built-in light bulb;
- "L" is a non-contact check of the presence of a current with a low sensitivity. Also accompanied by the appearance of green light on the indicator;
- "H" - contactless testing with high sensitivity, which makes it possible to detect lines of force even under a layer, which is accompanied not only by a lighted bulb, but also by a soundtrack.
So using an indicator screwdriver of this type is very convenient and effective.
From the negative sides it is necessary to allocate:
- Relatively high cost. Additional elements in the structure of the device, of course, increase the cost of the product;
- Frequent battery replacement. The power consumption of such tools is quite large.
Proposals from manufacturers
Now let's move on to what can be found on the shelves of specialized stores regarding the type of instruments under consideration:
- Model "OP-1 IEK":
Model of the model «Vorel 65233»
- Model "MEET MS-18":
Checking the wires with a screwdriver-probe
The video in this article contains additional materials, and you can ask questions on the topic in the comments.
In the article I will give an example of how to use a test screwdriver for a voltage of 100 - 500 V alternating current. I will consider two types of household indicator screwdrivers for voltage indicators.
Let's see what the indicator screwdriver consists of and how it works.
Fig. 1 Indicator screwdriver for voltage 100 - 500 V AC.

Fig. 2 Indicator screwdriver for voltage of 100 - 500 V AC and a pen.
The indicator screwdriver is small in size, so many electricians carry them with them, it does not take up much space in their pockets.
Now, I will take care of it and show what the screwdriver consists of.
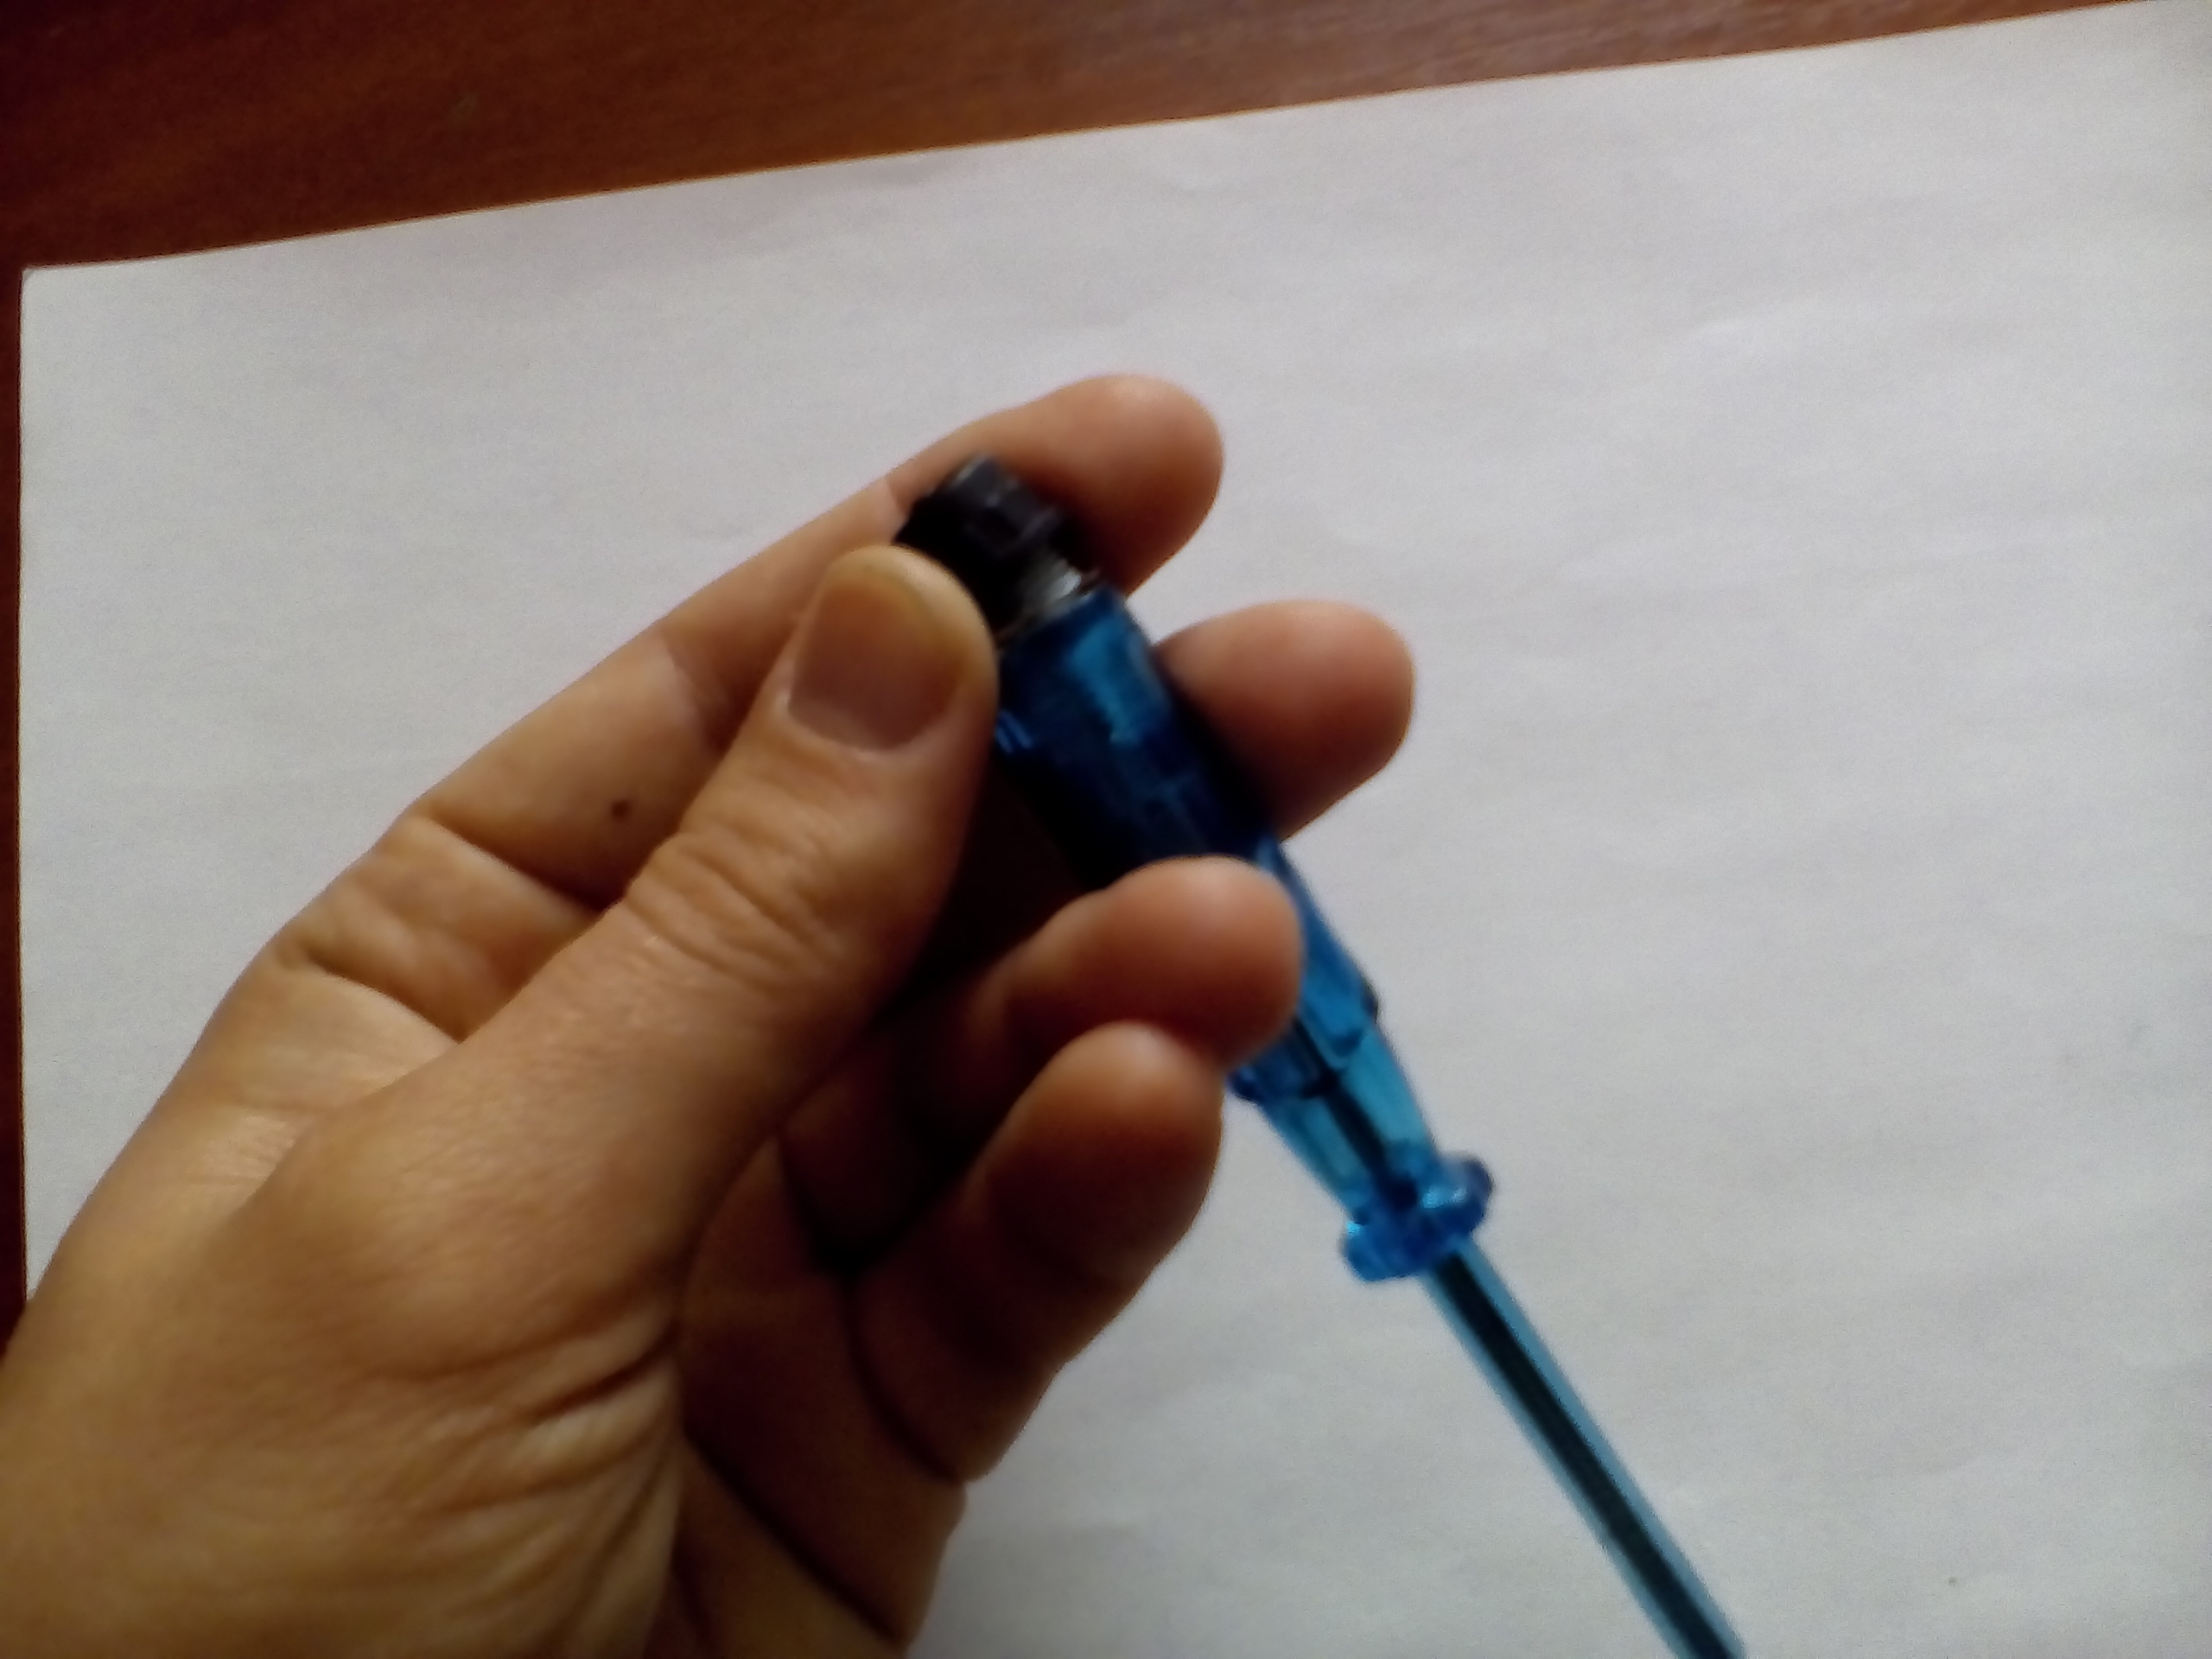
Fig. 3 Unscrew the cap from the indicator screwdriver.
In the cap there is a contact that is necessary for the operation of the indicator screwdriver. When checking the voltage, this contact needs to be touched with a finger, so that a current circuit appears and the indicator light comes on.
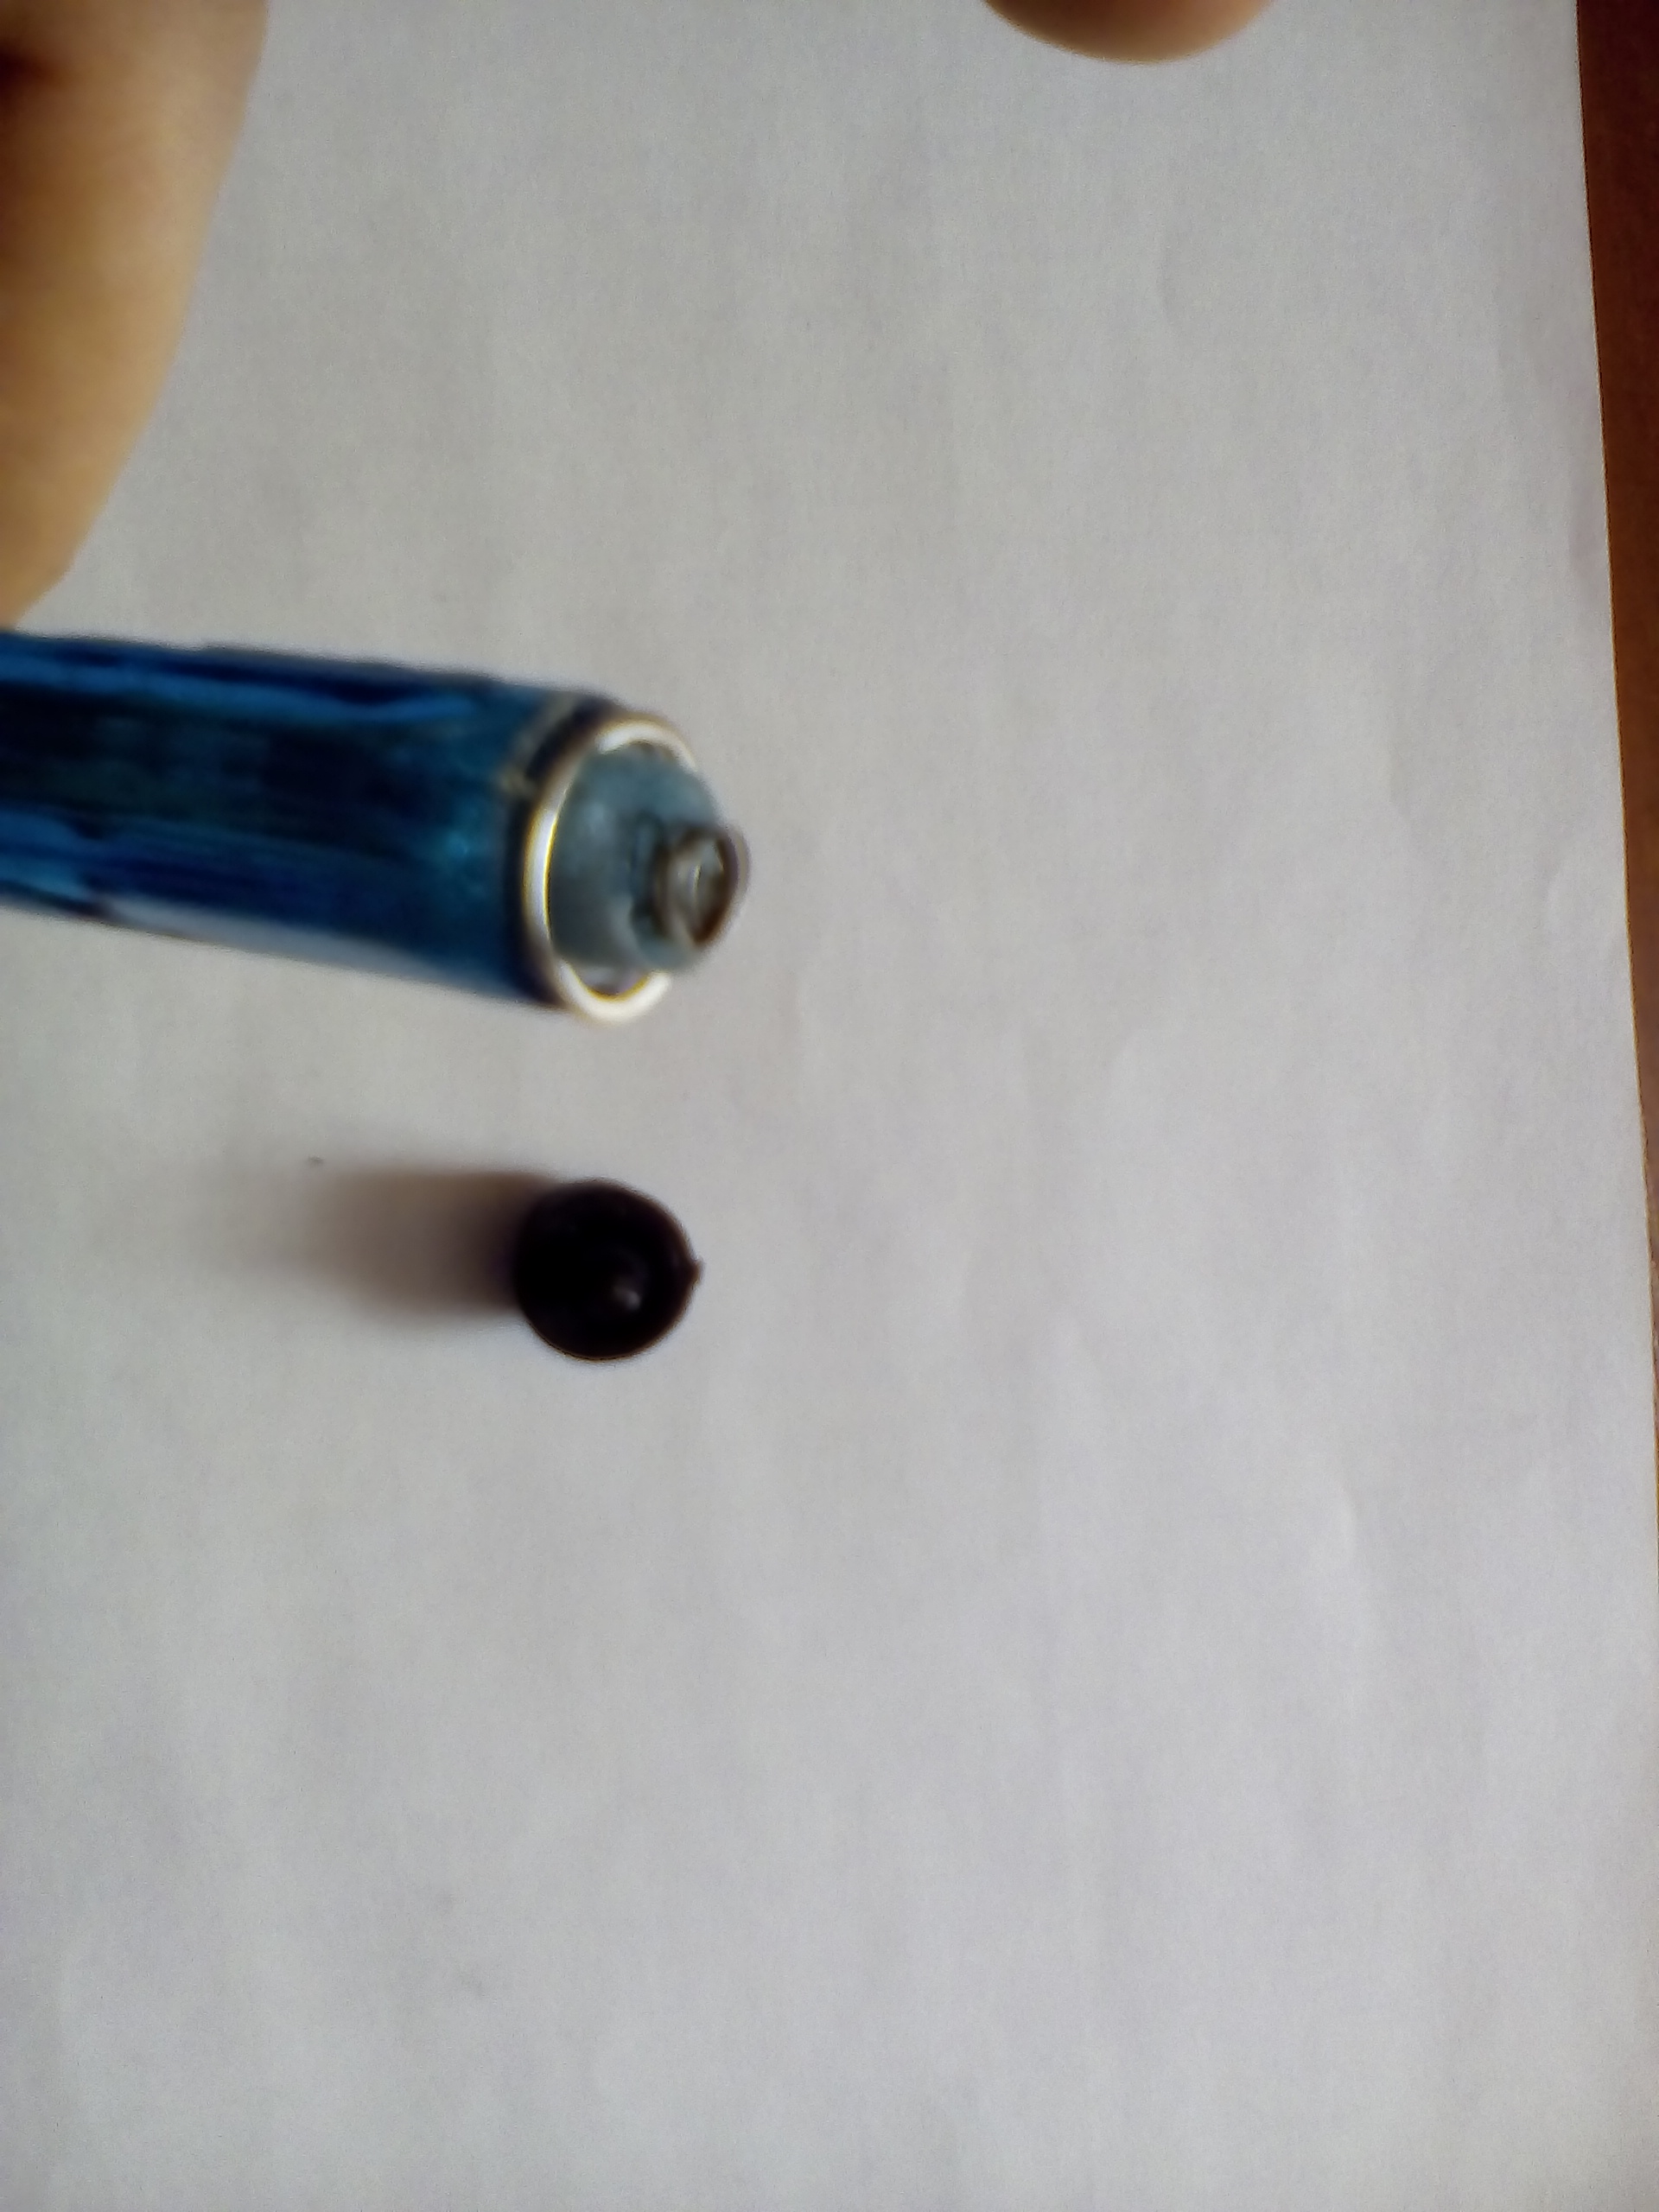
Figure 4 Unscrewed cap.
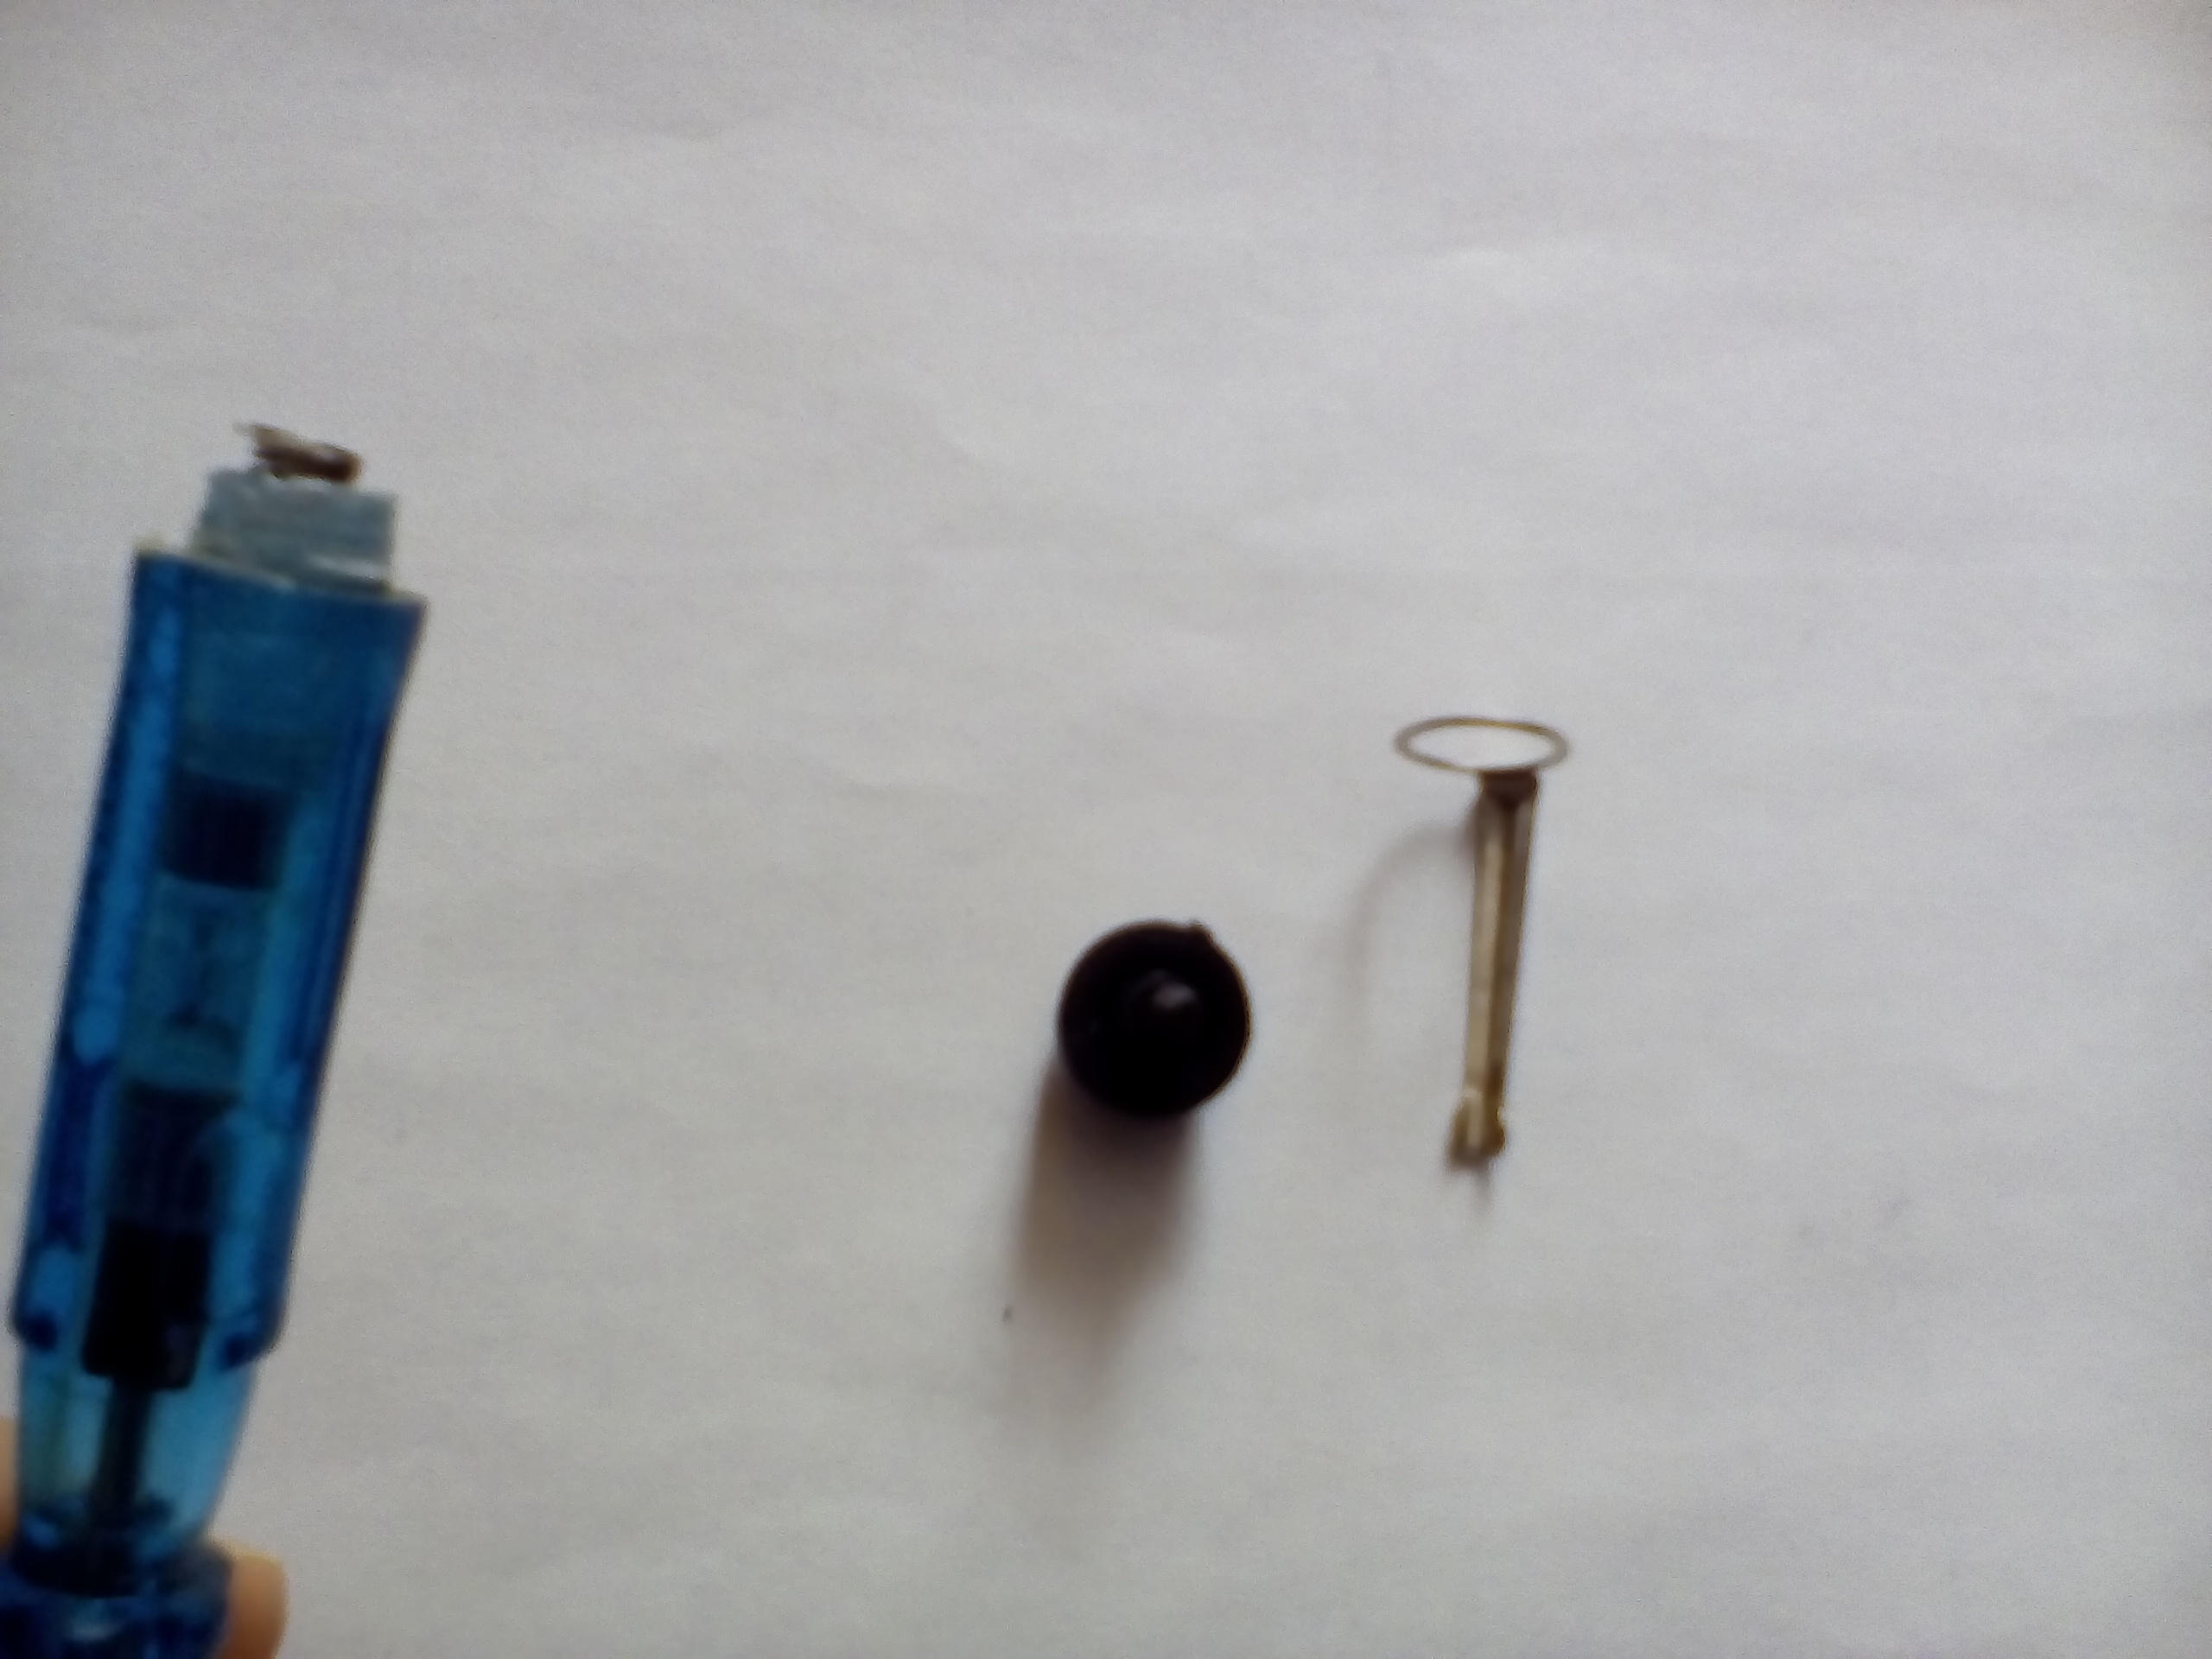
Figure 5 Remove the mount for carrying in your pocket.
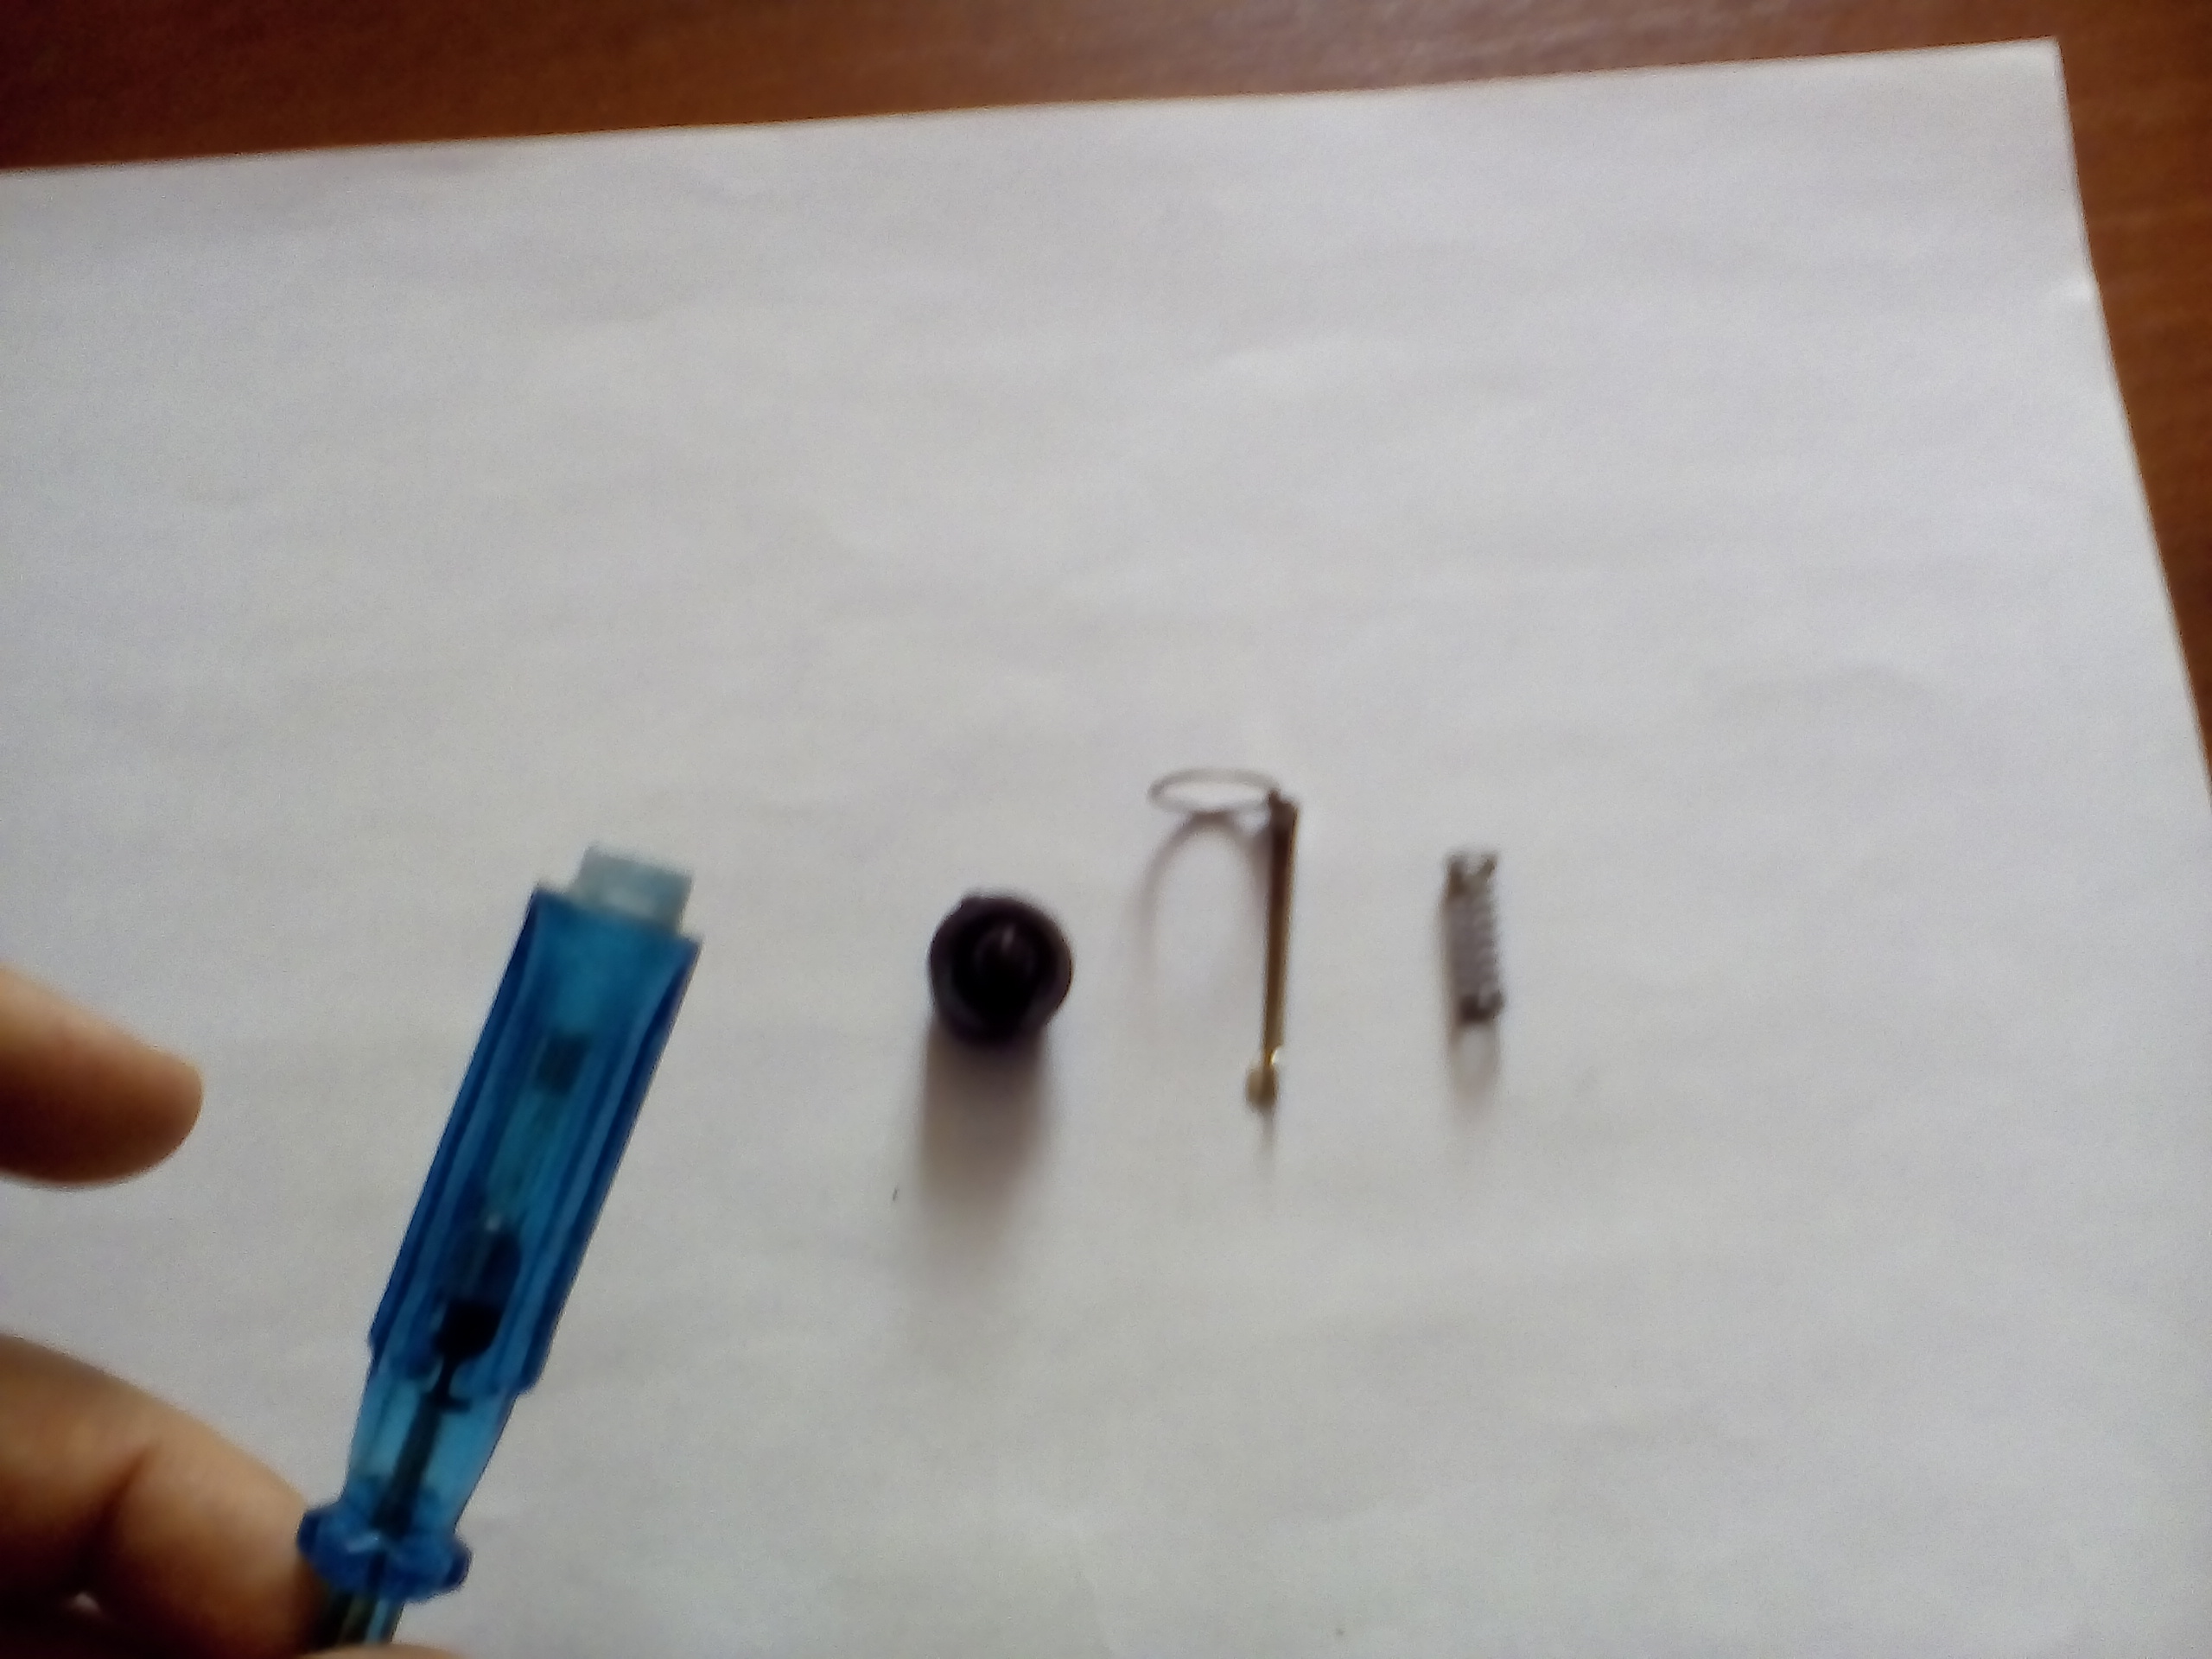
Fig. 6 Remove the spring.
The spring is needed to create a good contact between the bulb, the cap contact, the resistor and the tip of the screwdriver.

Figure 7 Remove the light bulb.
The light bulb has the shape of a cylinder. It consists of 2 contacts, a bulb, in the nutria of which there is a filament. Therefore, when checking the presence of voltage, it is necessary to make sure that the indicator screwdriver is working and check it on the live parts where you know that there is voltage on them. The same should be done if the indicator screwdriver is accidentally dropped to the ground. The light bulb can fall apart and the indicator screwdriver may not work, and you check the presence of voltage, the indicator will show that it is not, but in fact it is. This can lead to an accident, electric shock and death.

Figure 8 Remove the resistor.
A resistor is necessary to limit current and voltage. To work safely with the indicator screwdriver, the resistance of the resistor is 0.5 mΩ. Because when you check the presence of voltage, a light in the indicator lights up. To burn a light bulb you need to create a current circuit, phase - earth. The tip of the screwdriver is connected to the phase, and the second end of the indicator screwdriver to the person who is standing on the ground. Through a person there is a current to the ground and the light comes on. For a person, a safe current is 10 to 30 mA.

Fig. 9 Indicator screw connection.
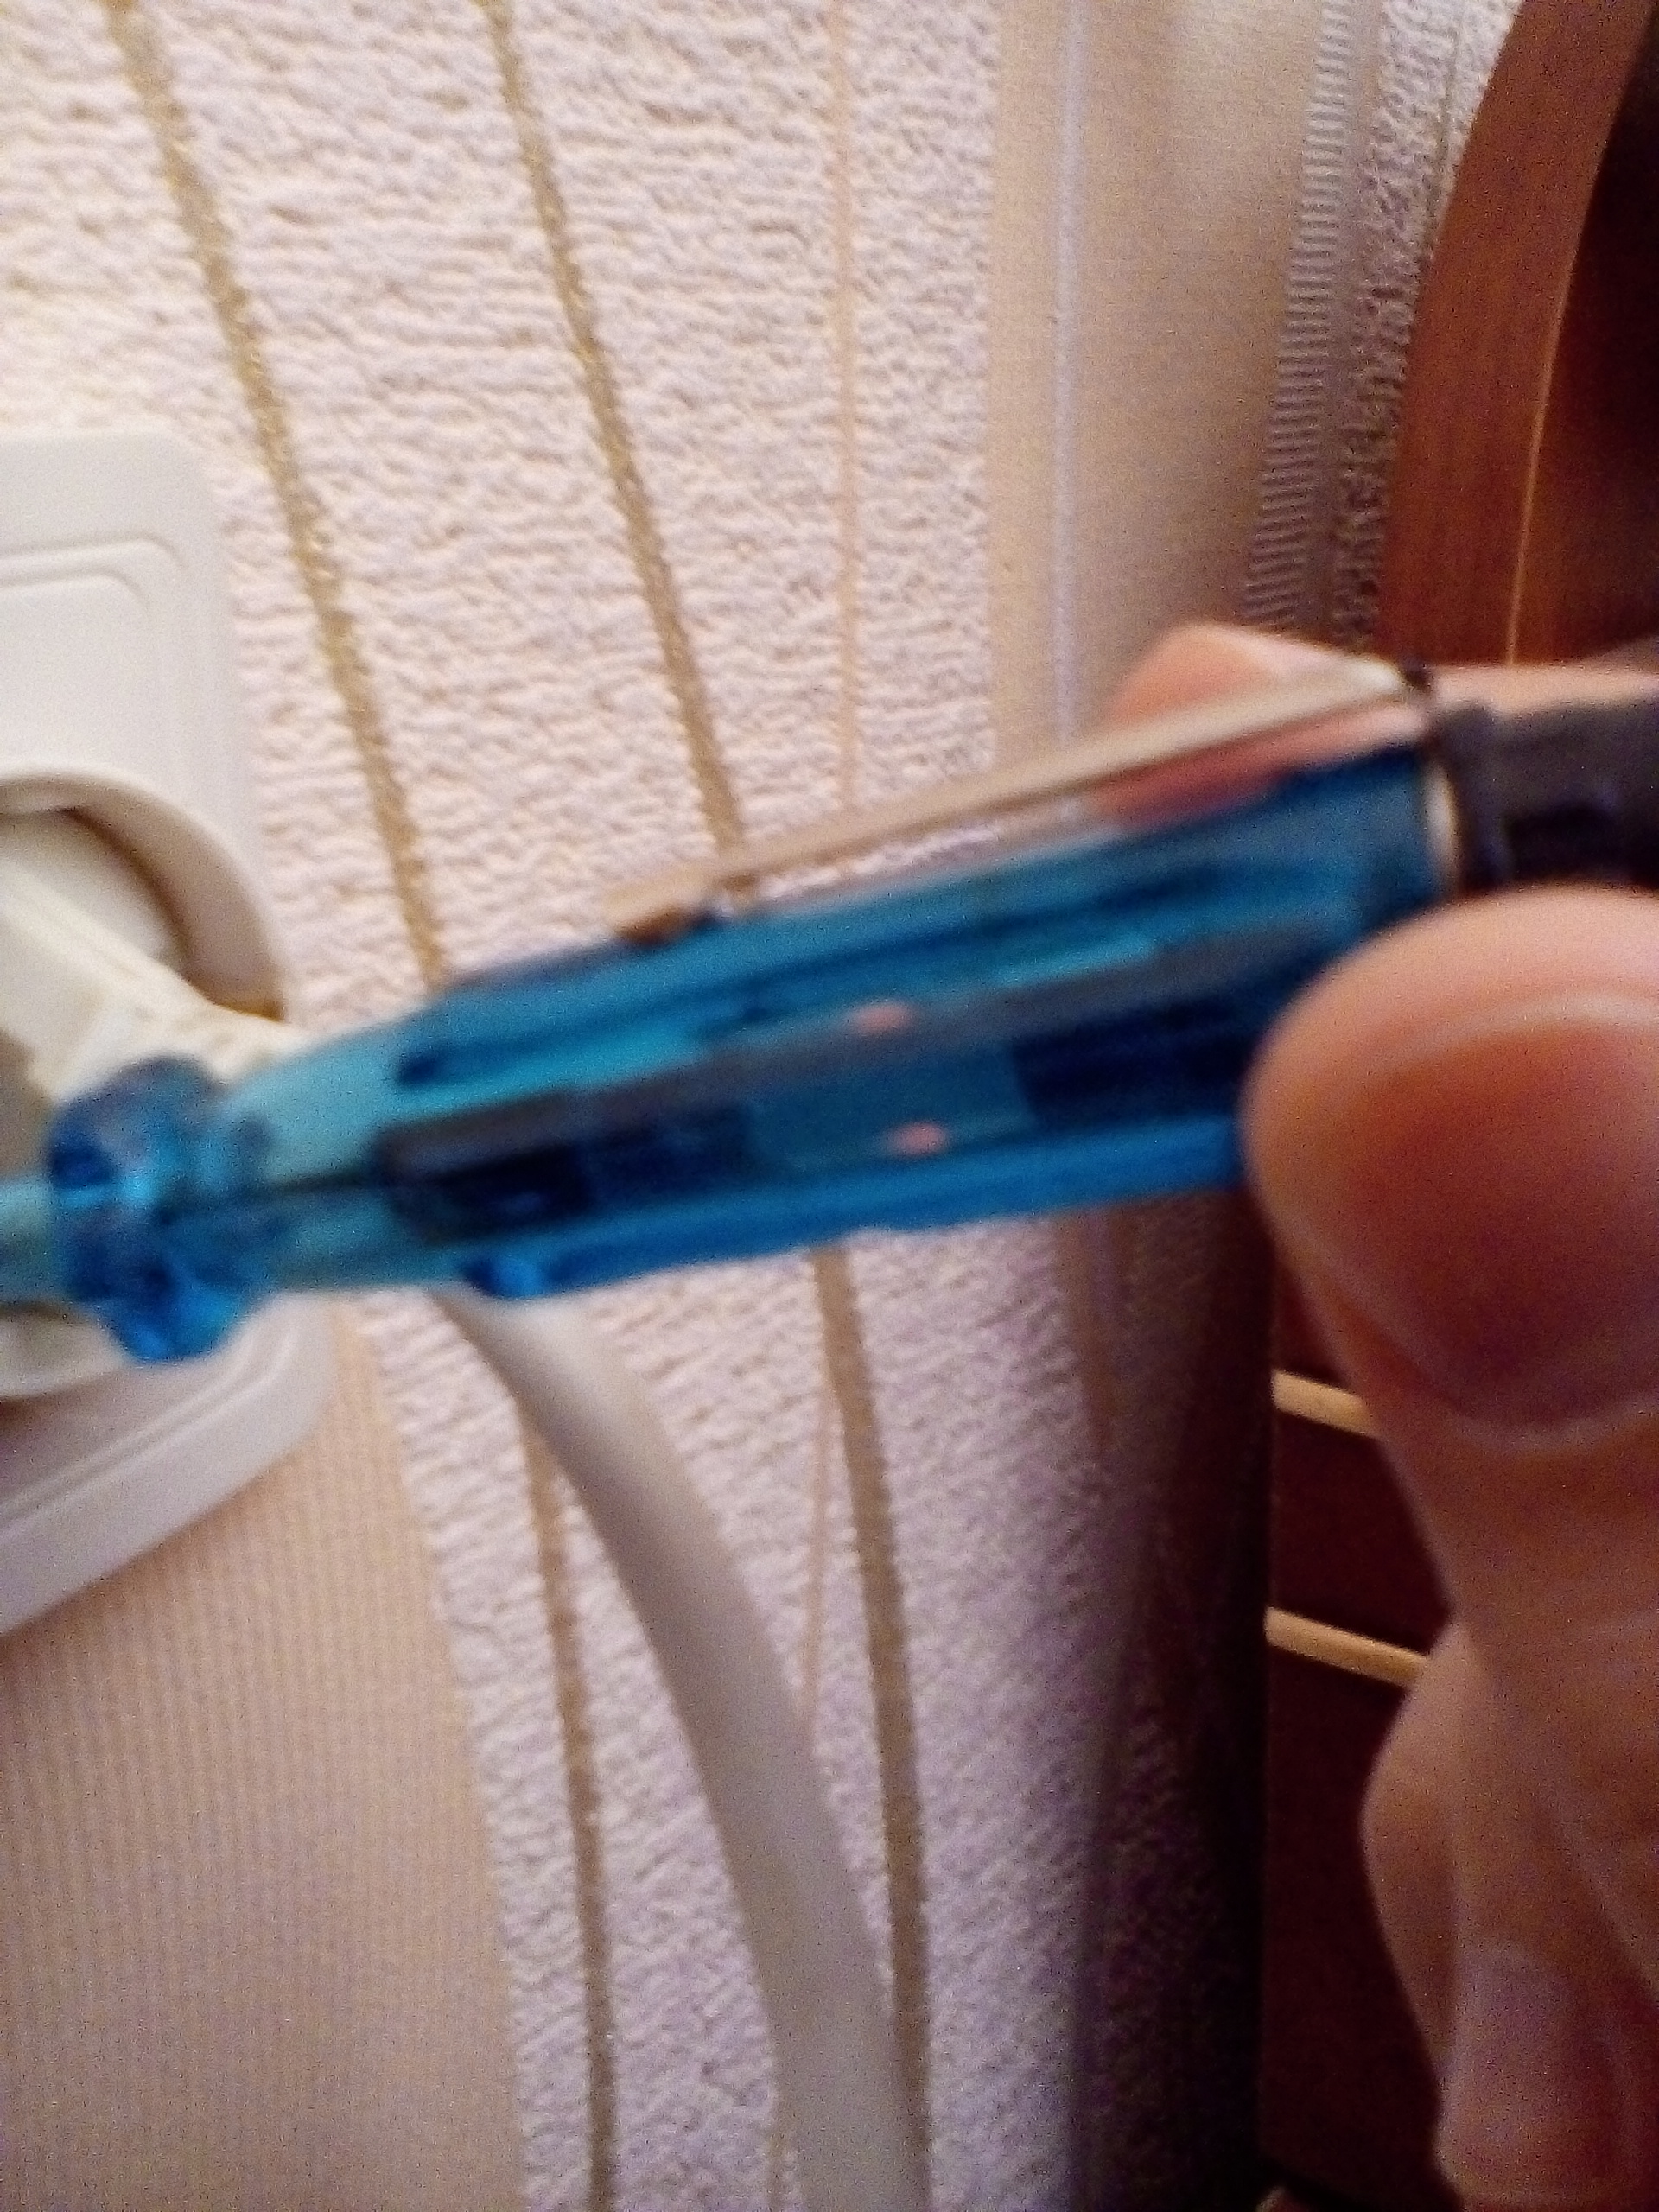
Fig. 10 Checking the indicator screwdriver. The light is on, the indicator is OK.
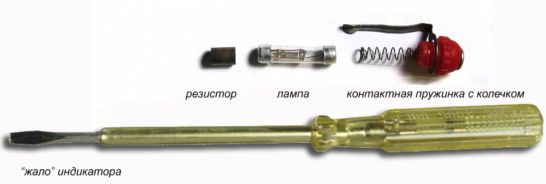
Fig. 11 Indicator screwdriver for voltage of 100 - 500 V AC.
The indicator screwdriver for 100 - 500 V AC is prohibited to use in gloves, because it will not work. Also, the indicator screwdriver will not work, if a person stands on an isolated base, or is suspended or stands on a wooden stepladder, a person's contact with the earth is necessary.
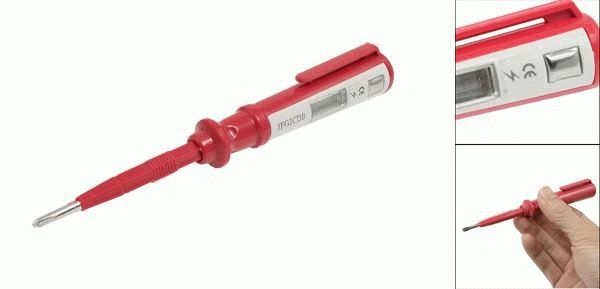
Consider an example of another indicator screwdriver on batteries.

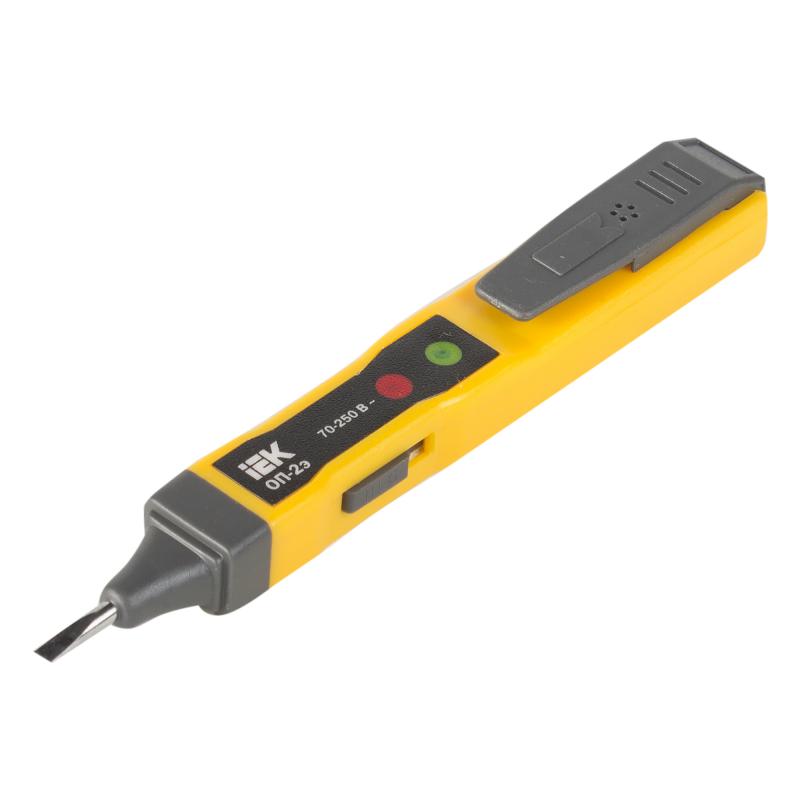
Fig. 12 Indicator screwdriver on batteries.
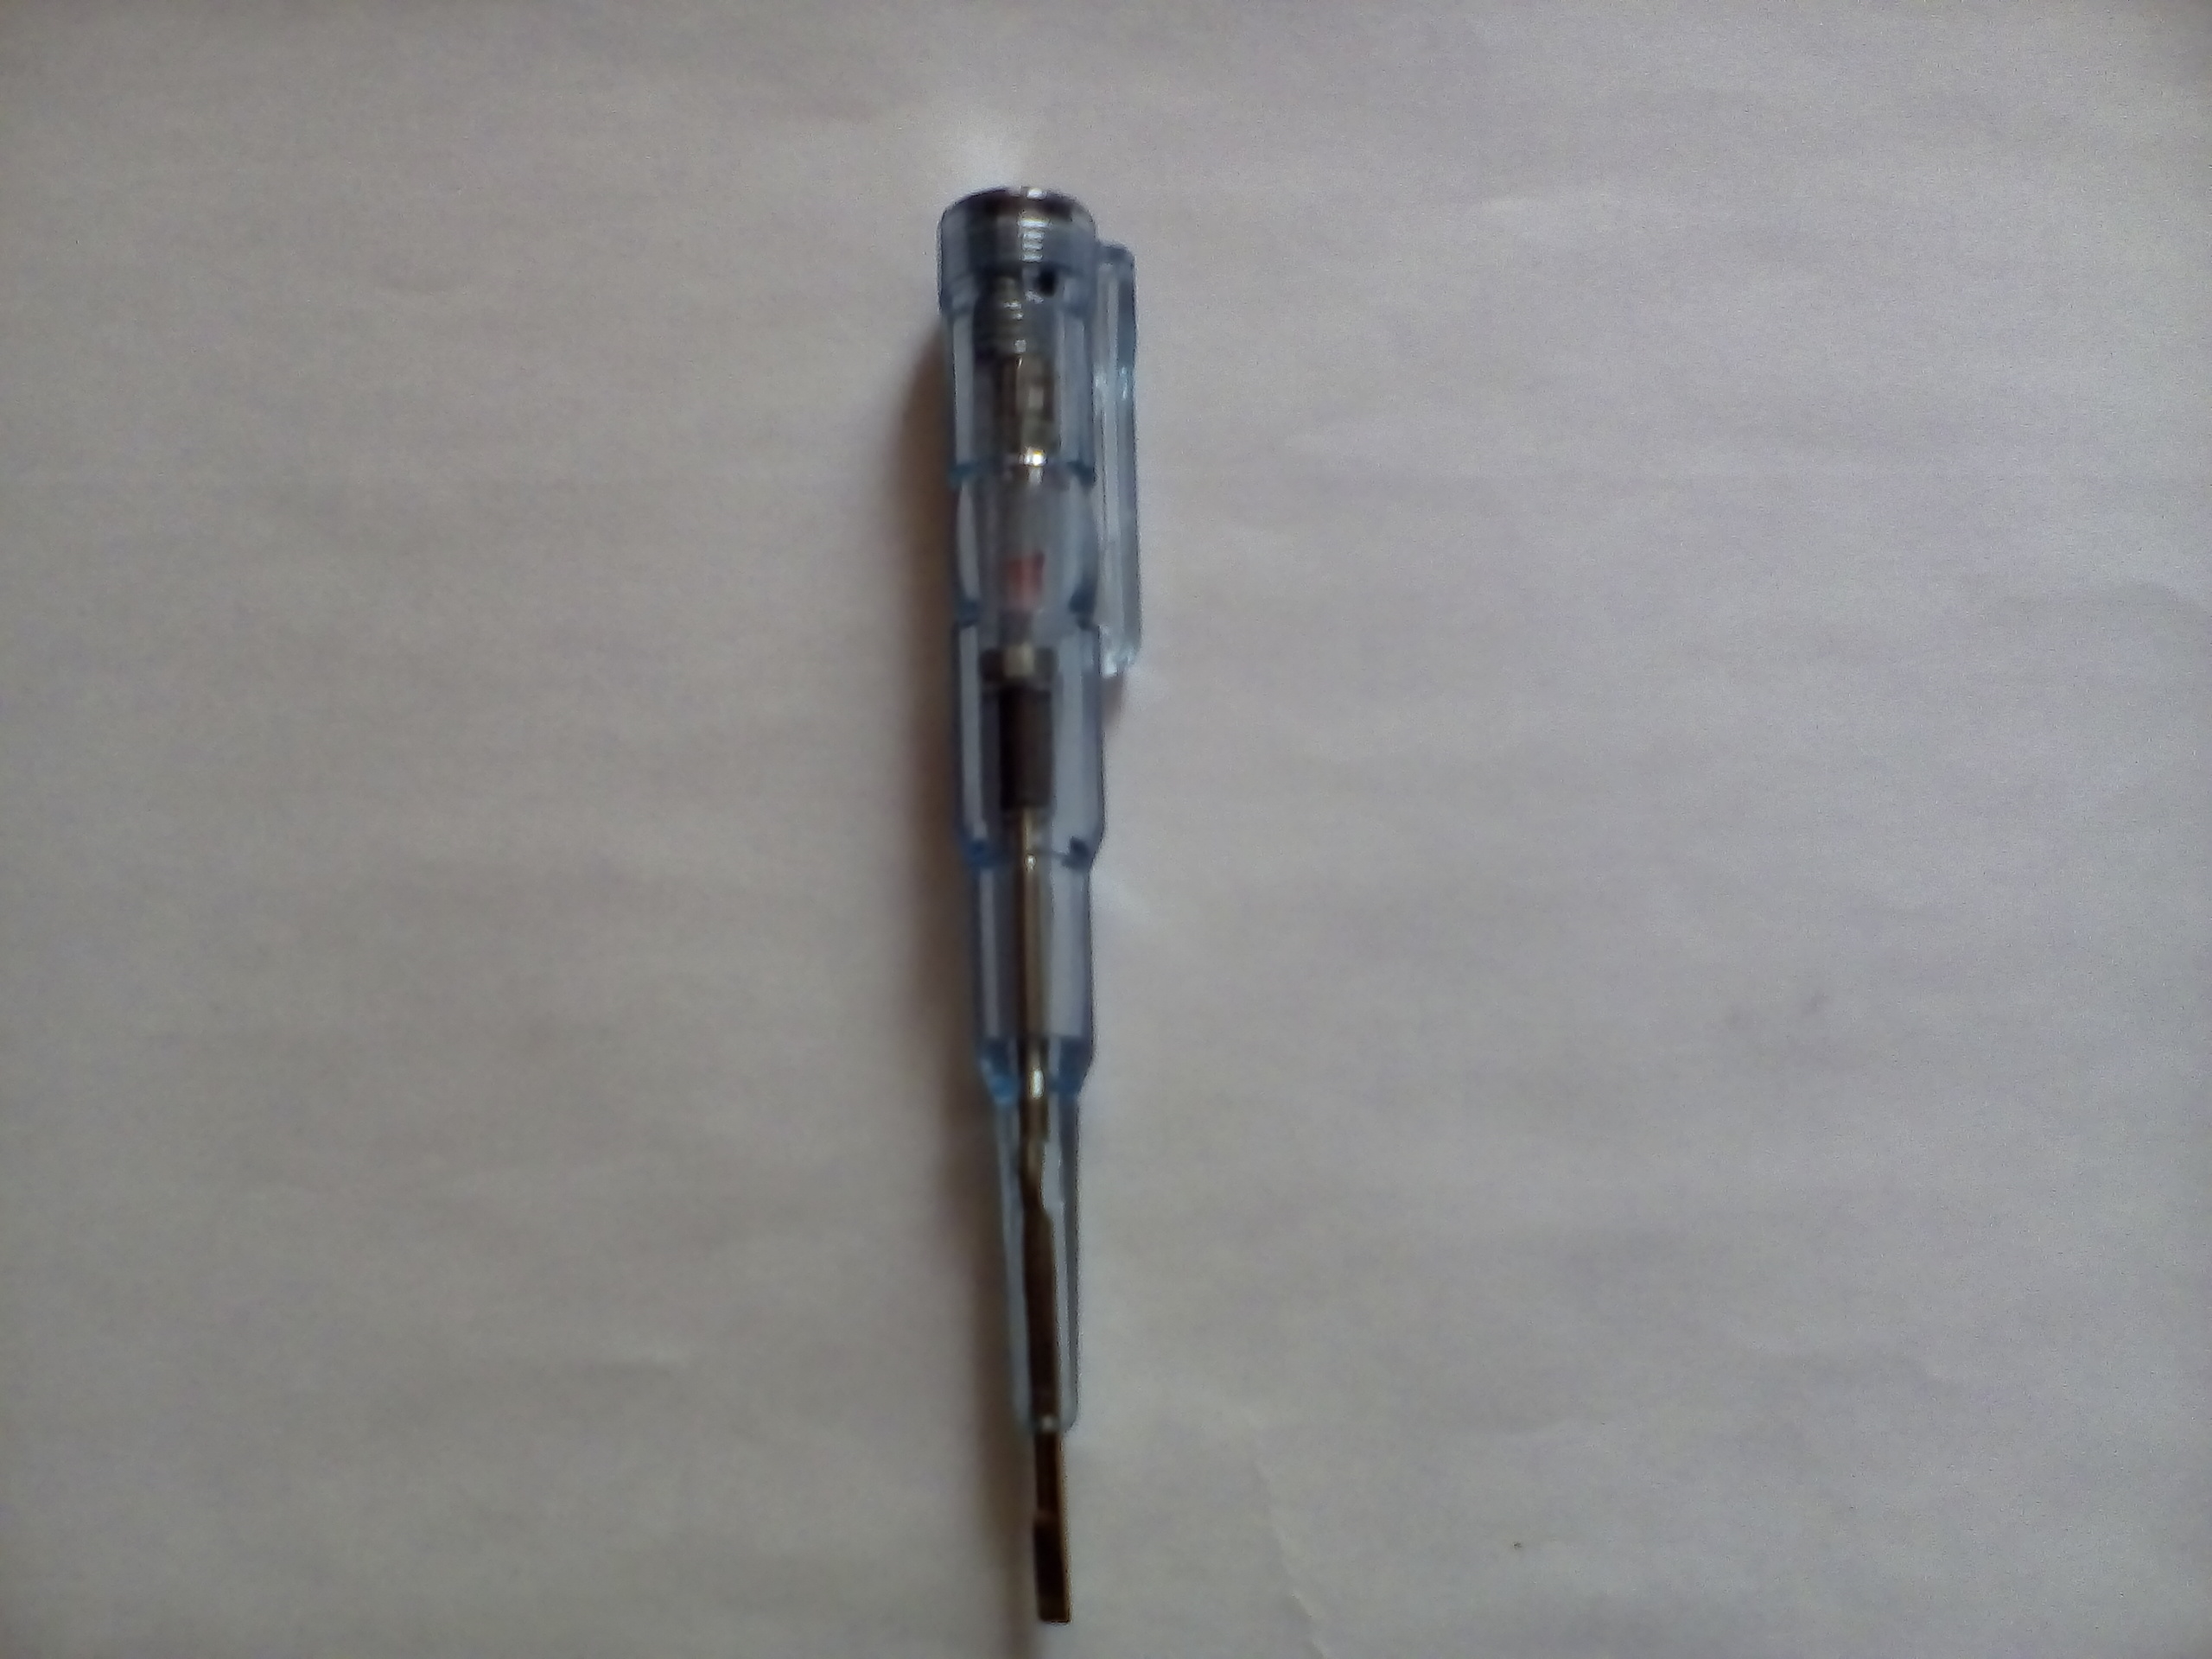
Fig. 13 Indicator screwdriver on batteries.

Fig. 14 Checking the indicator screwdriver on the batteries.
This indicator screwdriver works differently. To check the presence of voltage, do not touch the other end of the screwdriver with a finger. It is enough to touch the current-carrying part with a stinger of a screwdriver, the indicator will light up - this is the phase.
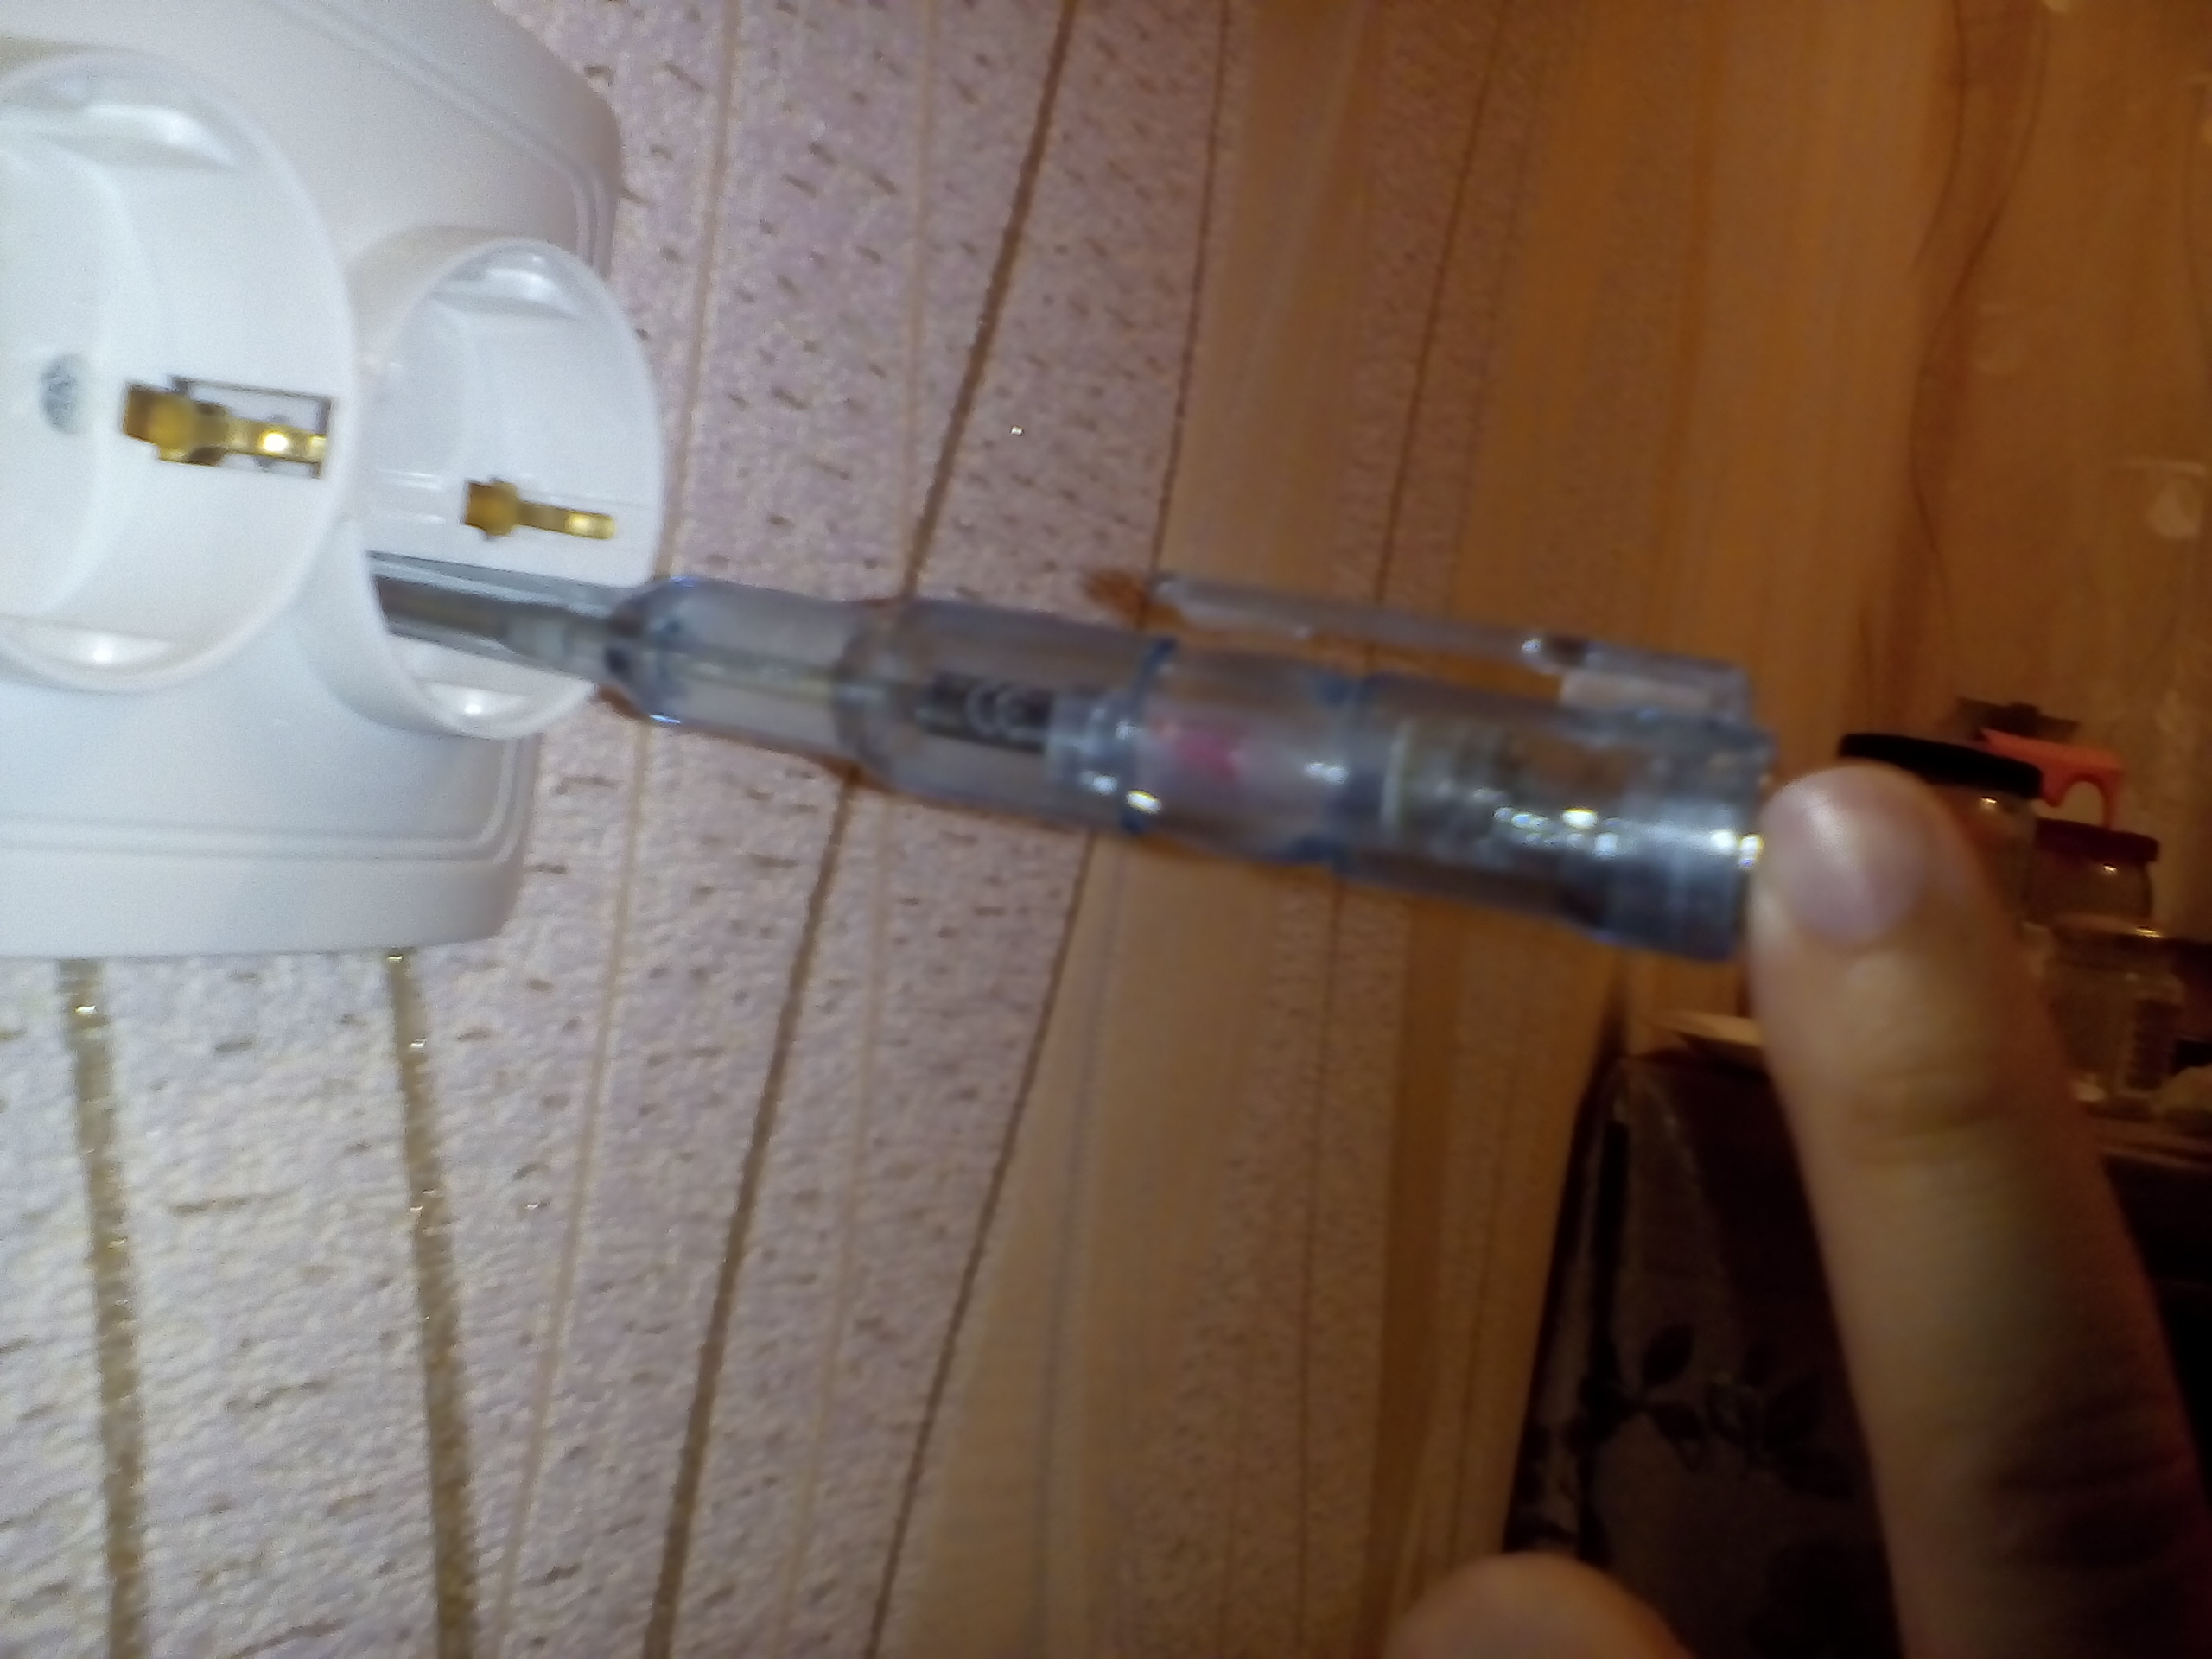
Fig. 15 Definition of zero.
If we insert the indicator screwdriver into another socket outlet, it does not shine, then it's zero. To determine the integrity of the zero conductor, touch the other end of the indicator screwdriver. If the light is on, then it means zero, if it does not burn, then there is no zero.

Fig. 16 Determination of the wire under the plaster.
In order to find the live wire under the plaster, it is necessary to take an indicator screwdriver for the sting and slowly drive the second end of the screwdriver along the wall where the wire is laid. Around the conductor with current, an electric field is formed, to which the indicator reacts and the LED starts to glow.
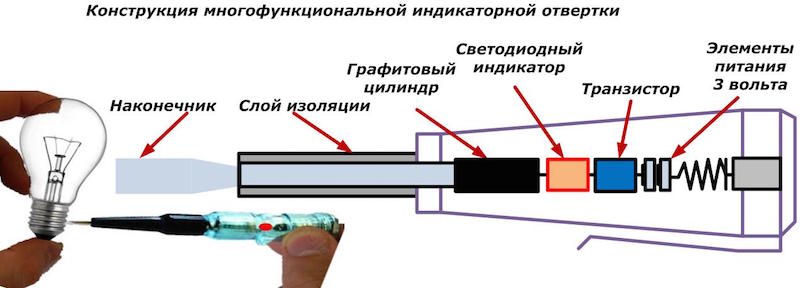
Fig. 17 Determination of the integrity of the bulb.
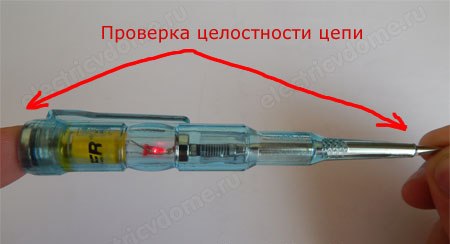
Fig. 18 Determination of chain integrity.
If the indicator screwdriver is taken by both ends with your hands, then a chain appears and the LED lights up. If a light bulb is inserted between the hand and the end of the screwdriver, you can check the integrity of the light bulb. If the light bulb is full, then the LED is on, if not the whole, then the LED is off.

Figure 20 Two types of screwdrivers I have reviewed.
In the article I considered two types of household indicator screwdrivers of voltage indicators. The first screwdriver can determine the presence of voltage on the current-carrying part, its operation depends on the presence of ground - the second contact. Do not check the voltage in the gloves, the indicator screwdriver will not work.
The second indicator screwdriver can check the voltage in the gloves. Also it can check the presence of zero - without gloves. Search for a live wire in the wall - without gloves. Use the indicator for pro calls - without gloves.
Let us consider an example of using a multifunction indicator screwdriver on an input three-phase circuit-breaker of a three-phase electricity meter in the office.

Fig. 21 Accounting board and lighting panel.
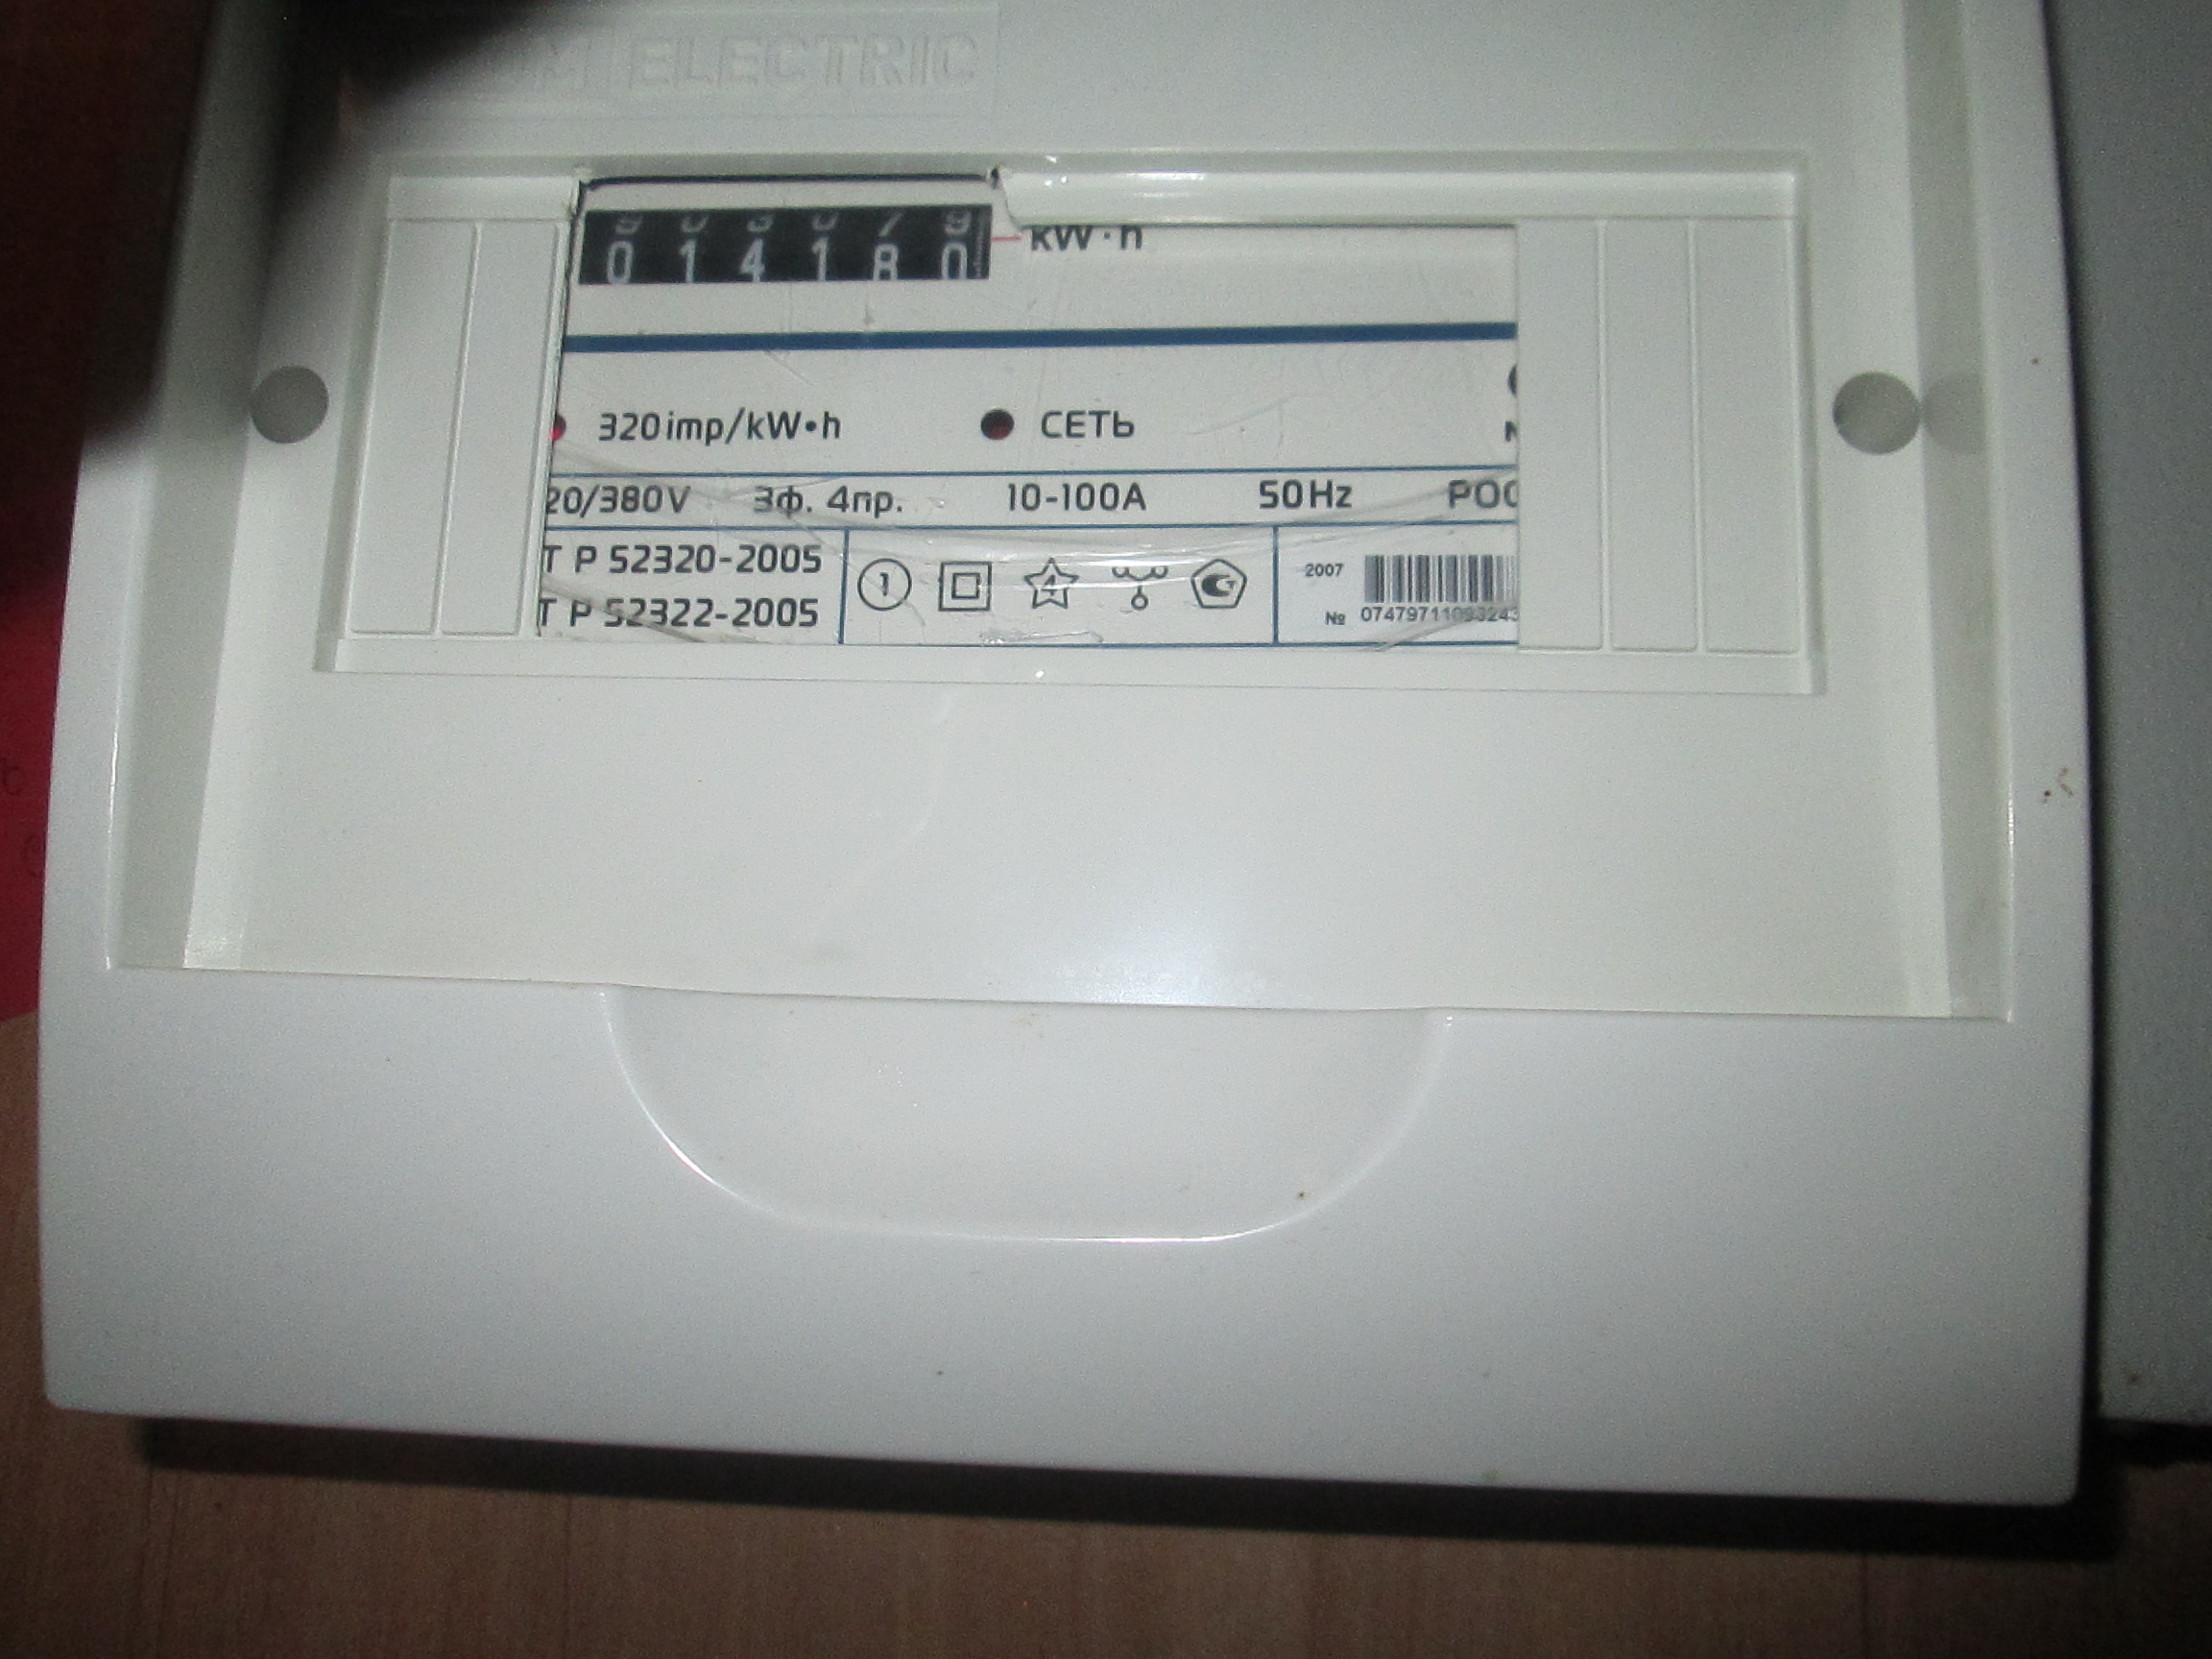
Fig. 22 Accounting board.
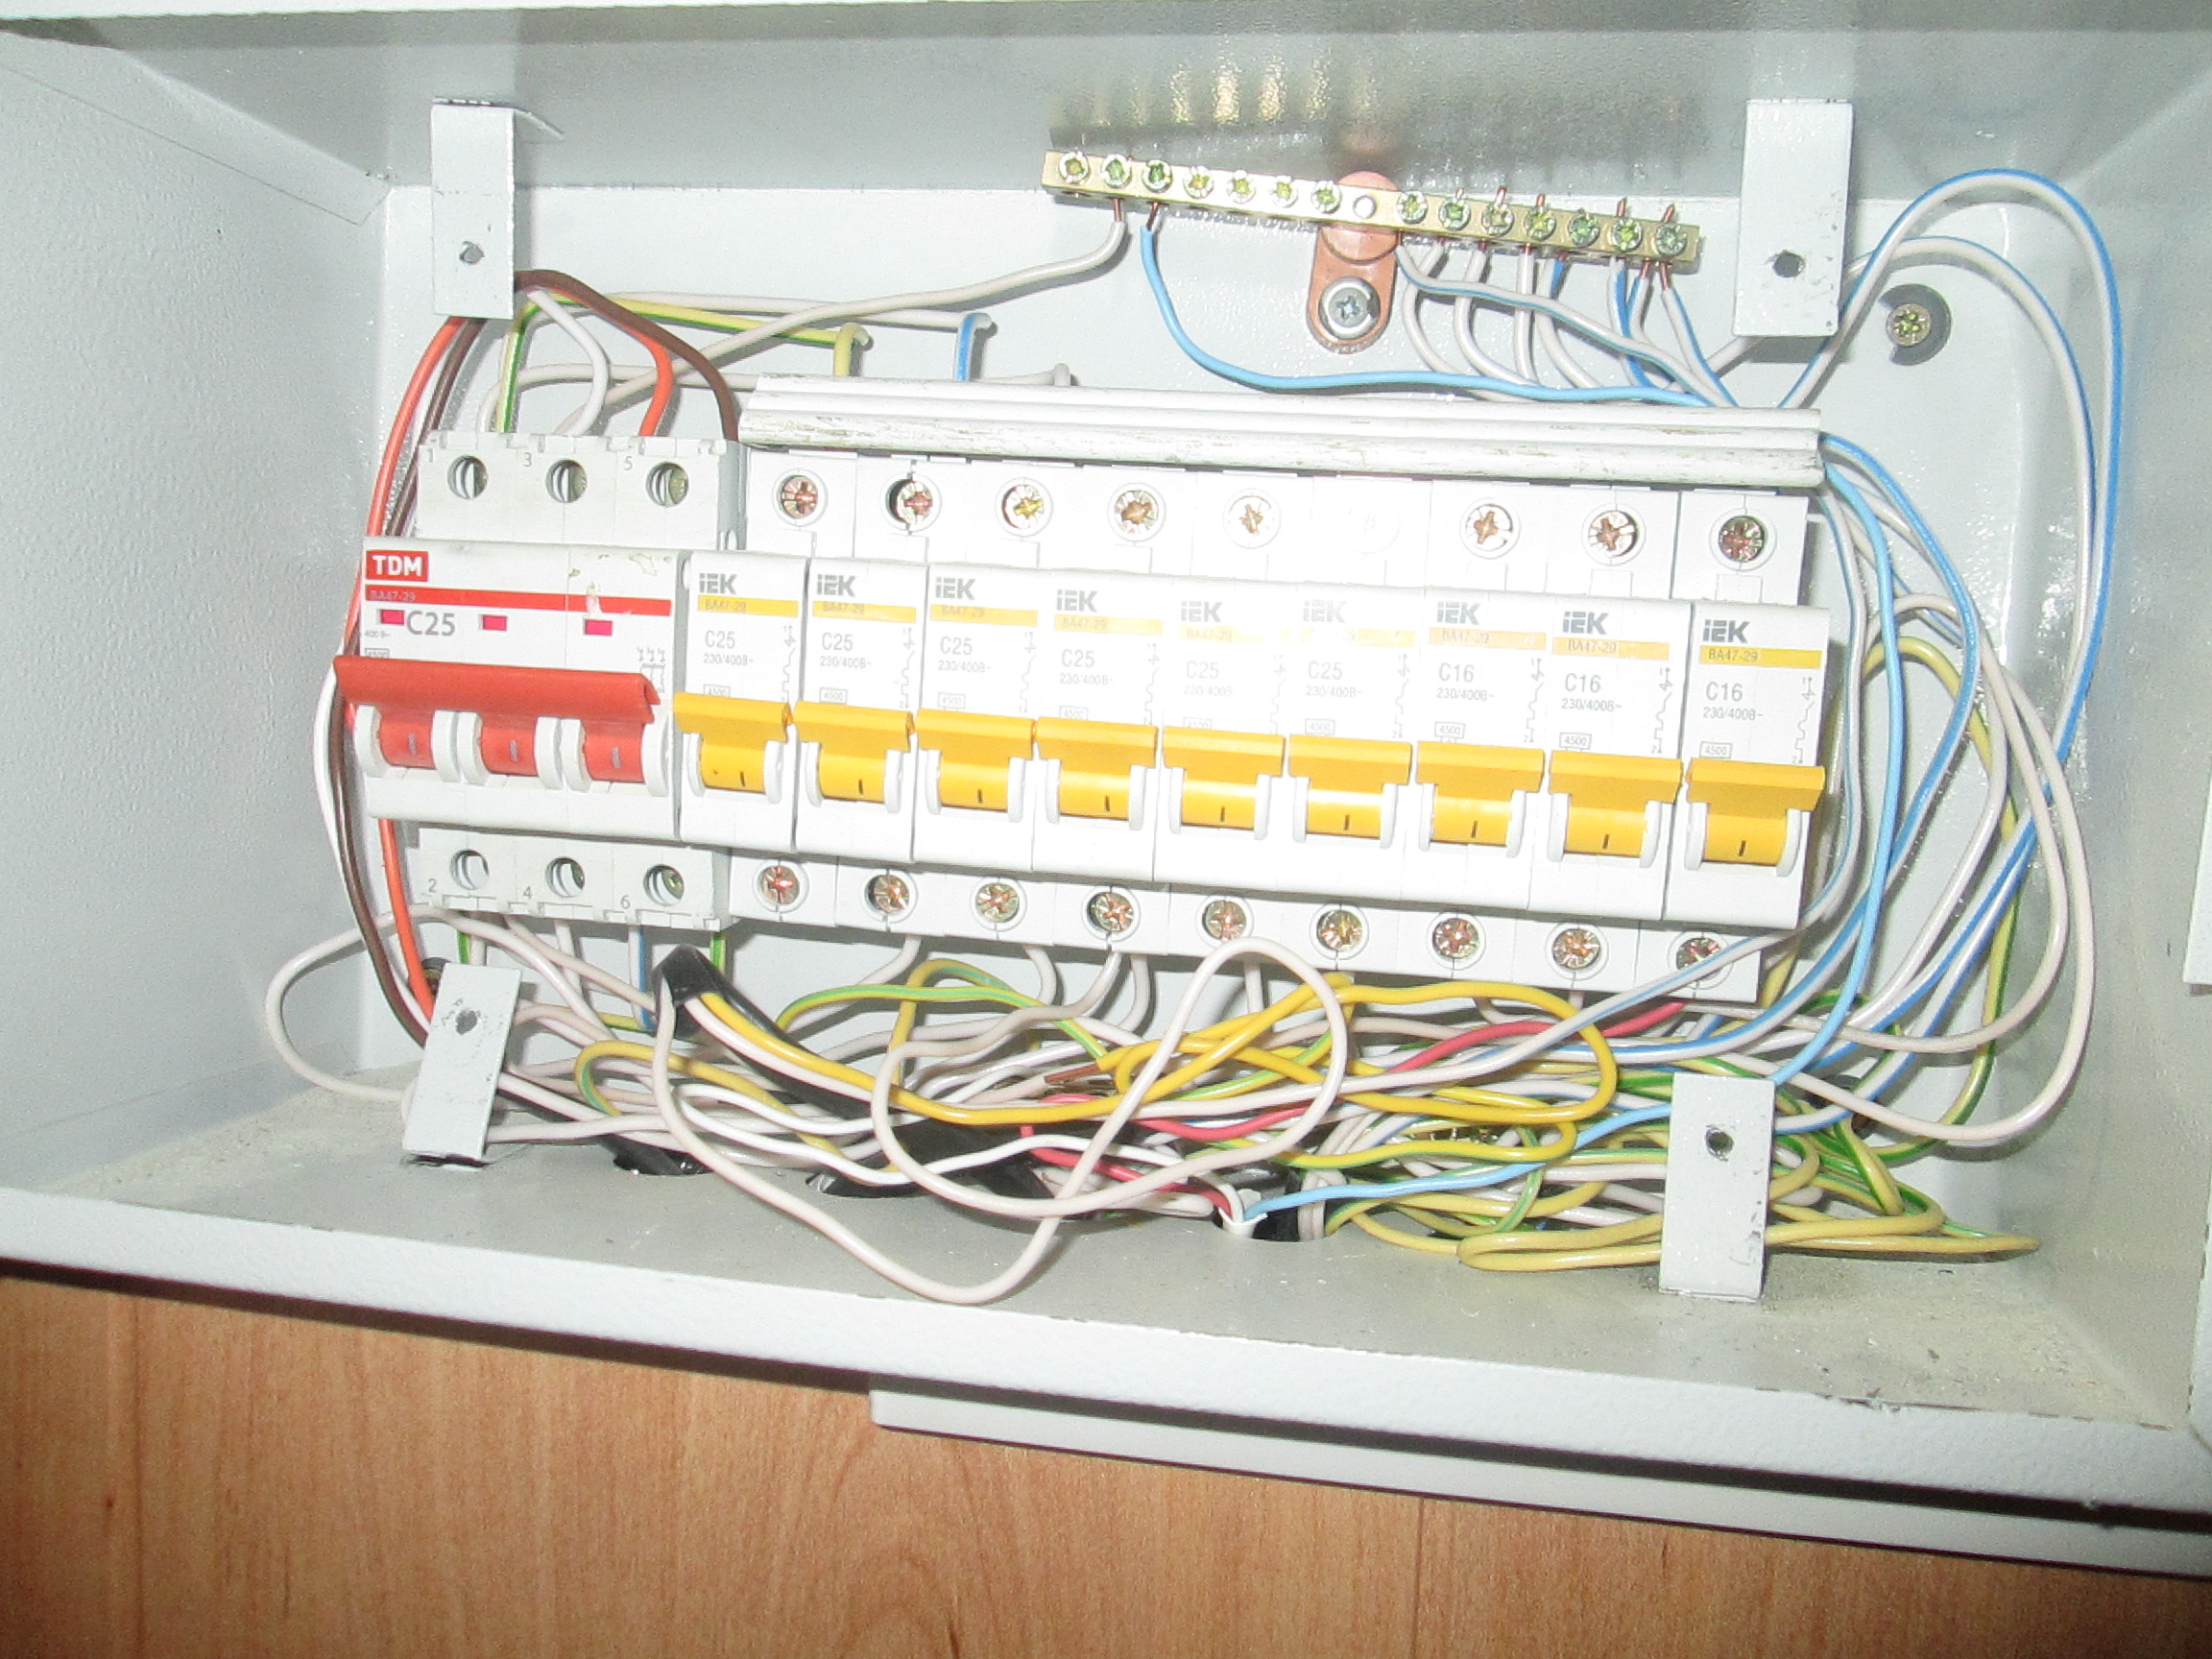
Fig. 23 Illumination shield.
There are no circuit breakers in the meter board. Here stands three-phase electricity meter "ENERGOMERS", the inscription is closed. I did not try to disassemble the shield. Because it is sealed. Power immediately comes to the counter, and then after the meter comes to the three-phase illumination board. The presence of voltage I will check on the introductory automaton of the lighting panel.

Fig. 24 Checking the presence of voltage in phase "A".

Fig. 25 Check for voltage in phase "B".
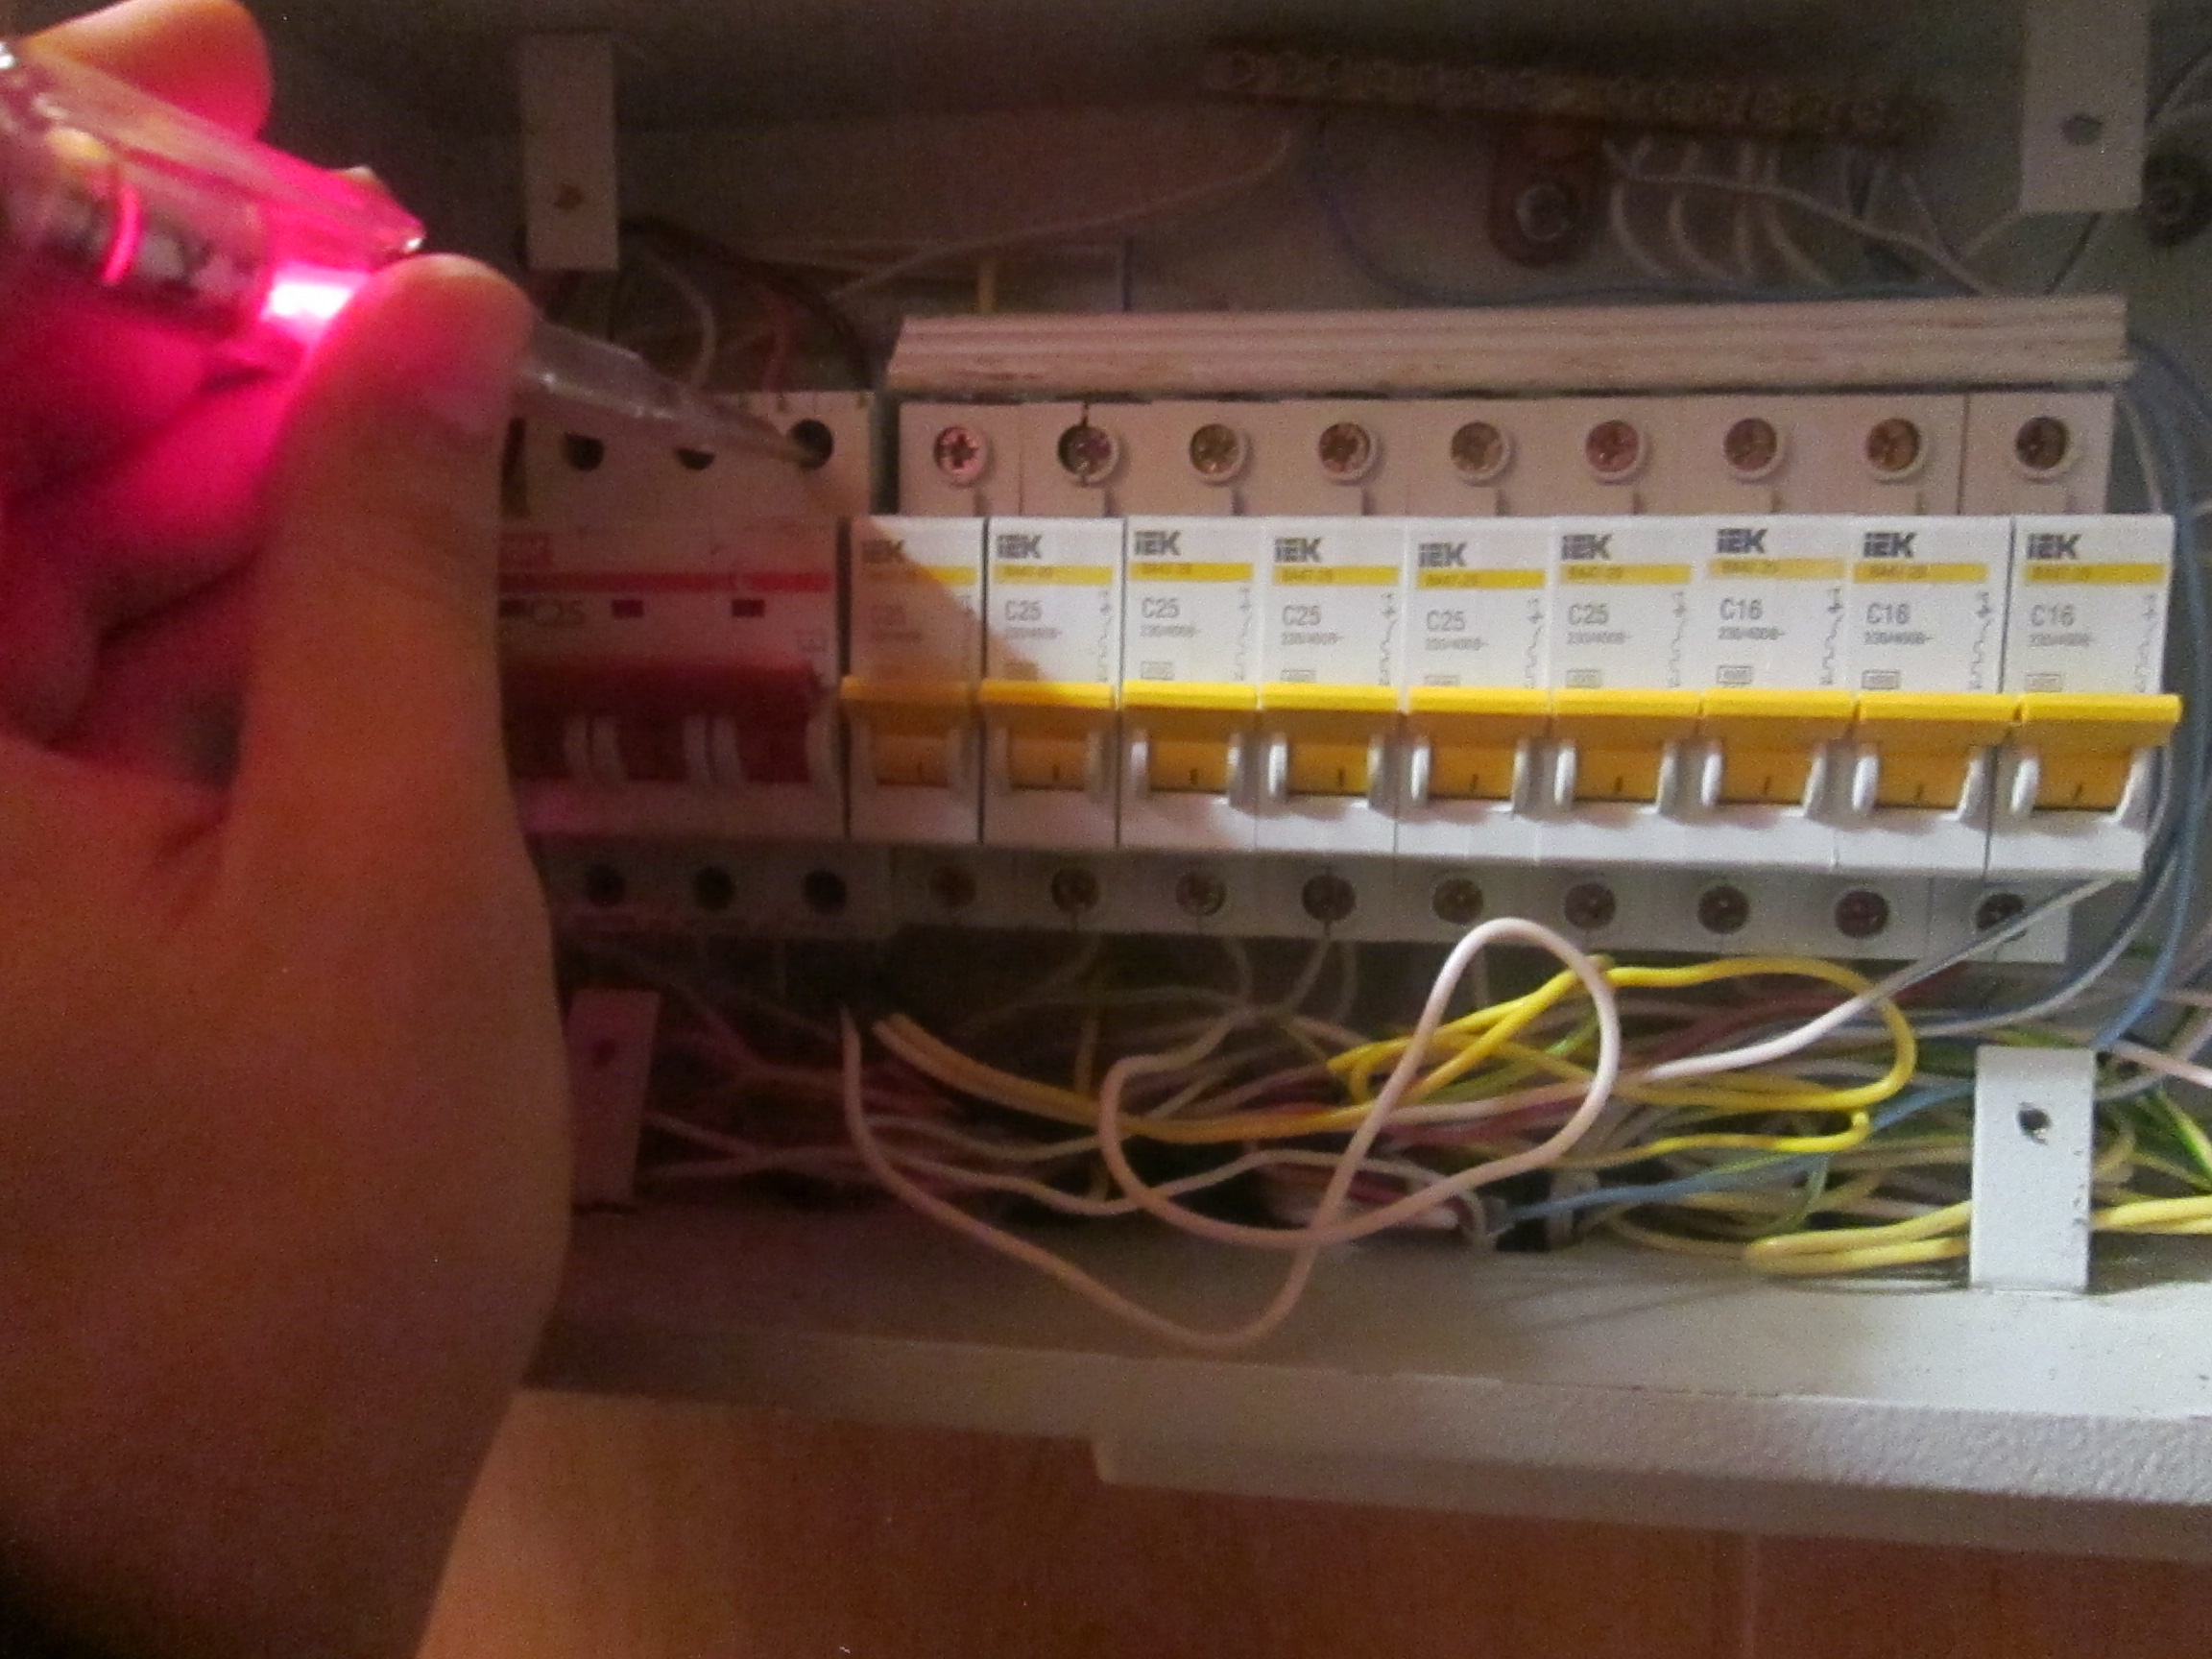
Fig. 26 Check for voltage in phase "C".
Power comes to the introductory three-phase automatic machine C25. Power supply, voltage presence, we check on the upper contacts of the three phase machine. To check the voltage, I use a multifunction indicator screwdriver on the batteries. Do not touch the second end of the indicator with your finger.
Consider an example of using a multifunction indicator screwdriver. Let's check the presence of voltage on the input automaton, single-phase electricity meter CE 101, which is located in a floorboard on the stairwell of a multi-apartment apartment house.

Fig. 26 Floor flats for 5 apartments.


Figure 27 Open the door of the flap.
We find the counter and the input circuit breaker of the desired apartment. To check the presence of voltage, we need to remove the panel of the shield, here the design of the shield does not allow us to remove the panel quickly, we will not check the presence of voltage with an indicator screwdriver. The red LED is on the counters - this indicates the presence of voltage. I will check the voltages on the vending machine in the dashboard, which is in the apartment.
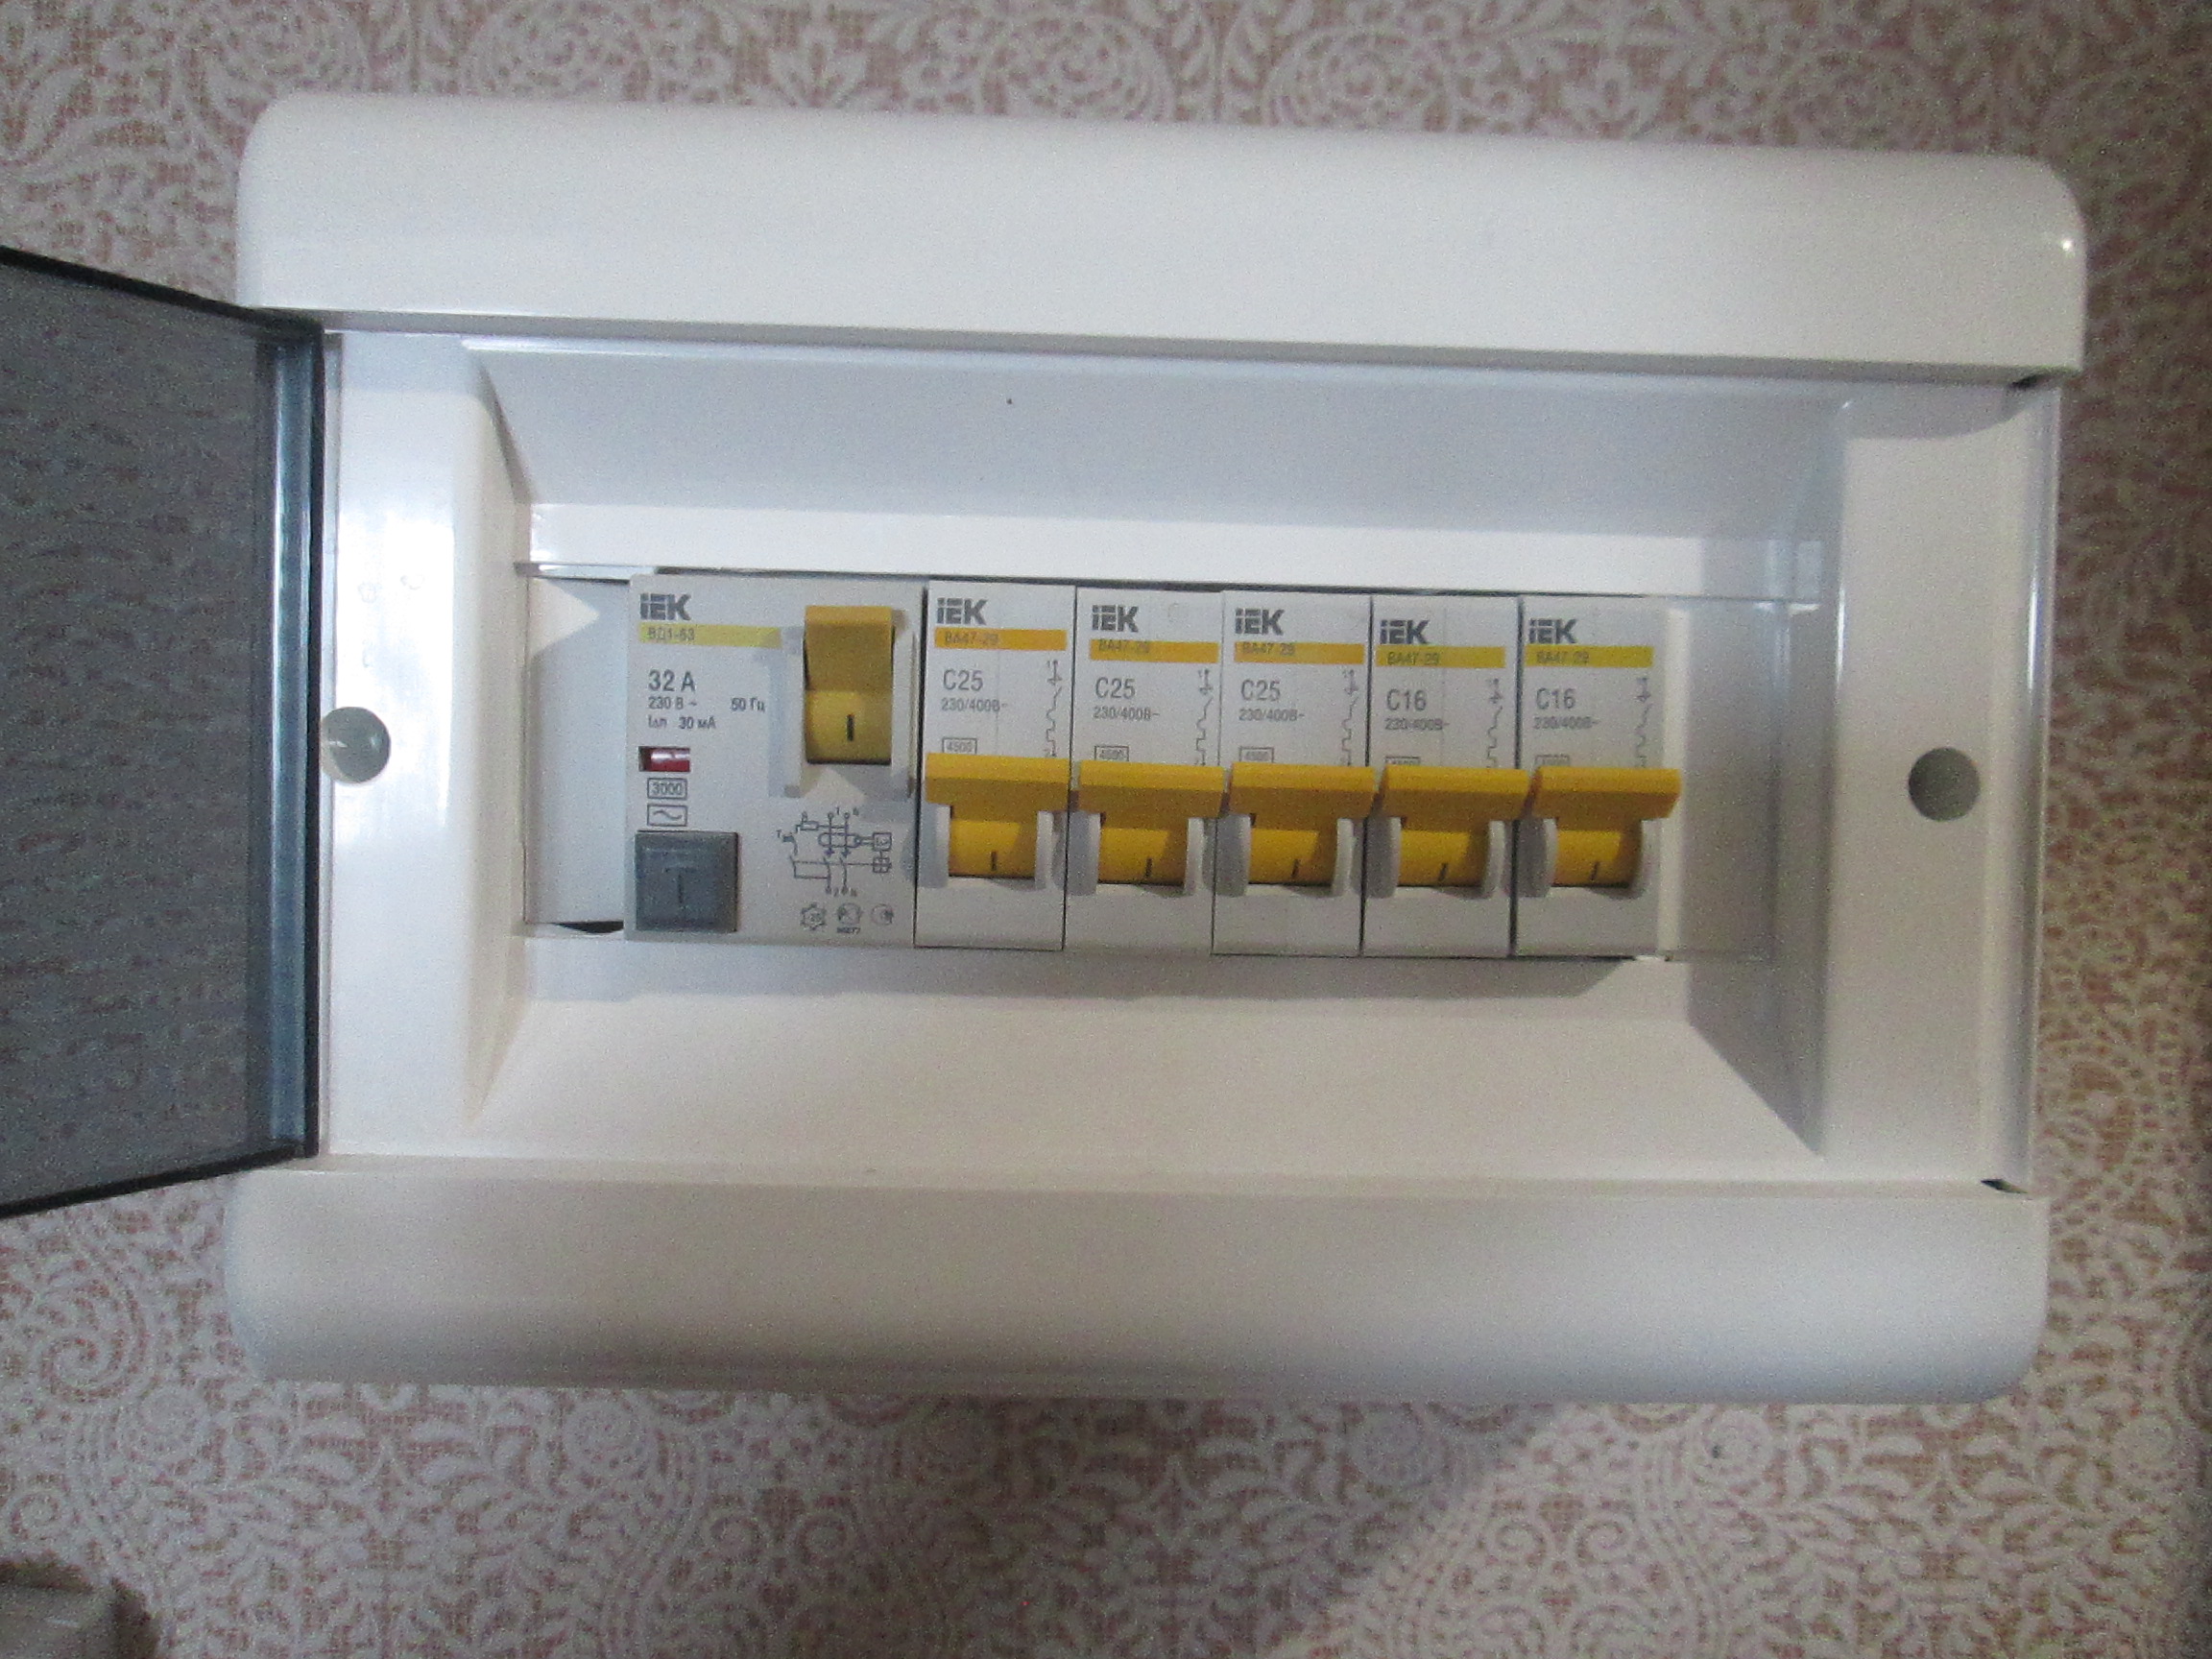
Figure 28 Shield in the apartment.
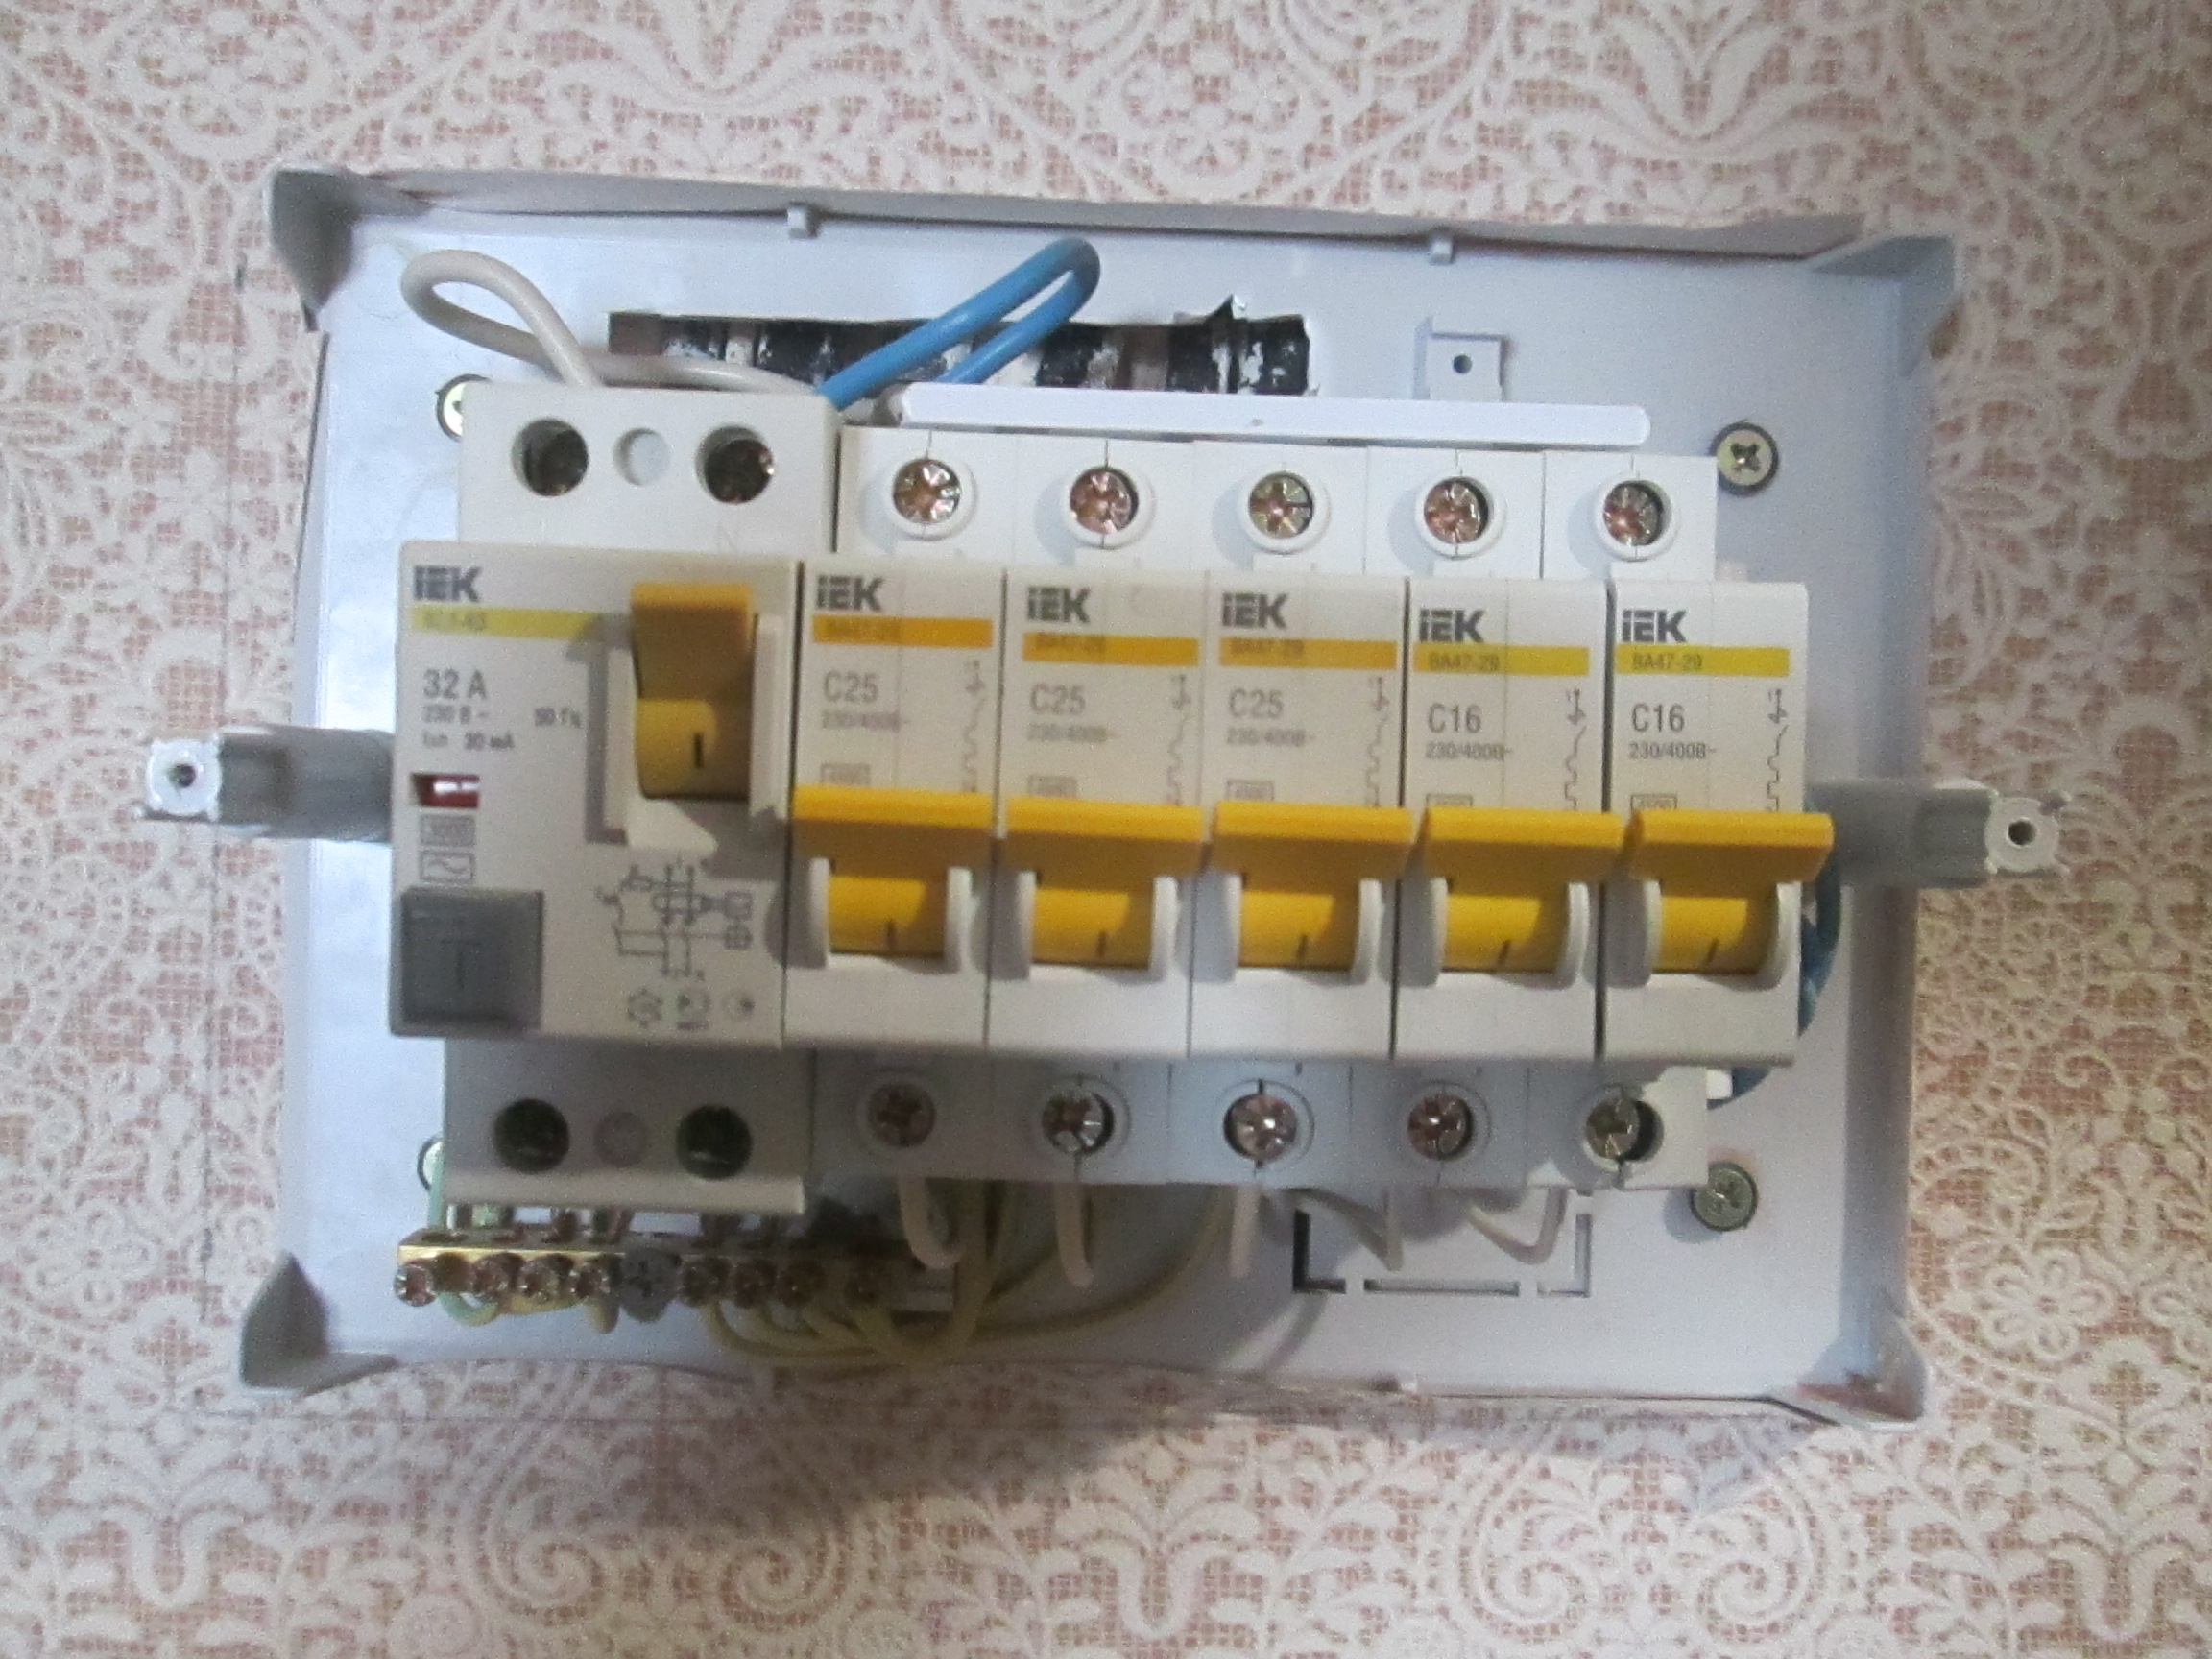
Figure 29 Remove the lid.
Turn off the circuit breakers, RCDs. We check the presence of voltage on the input, which comes from the meter.

Fig. 30 Check for phase voltage.
Power comes to the input of the RCD. To check the voltage, I use a multifunction indicator screwdriver on the batteries. Touching the finger to the second end is not necessary.
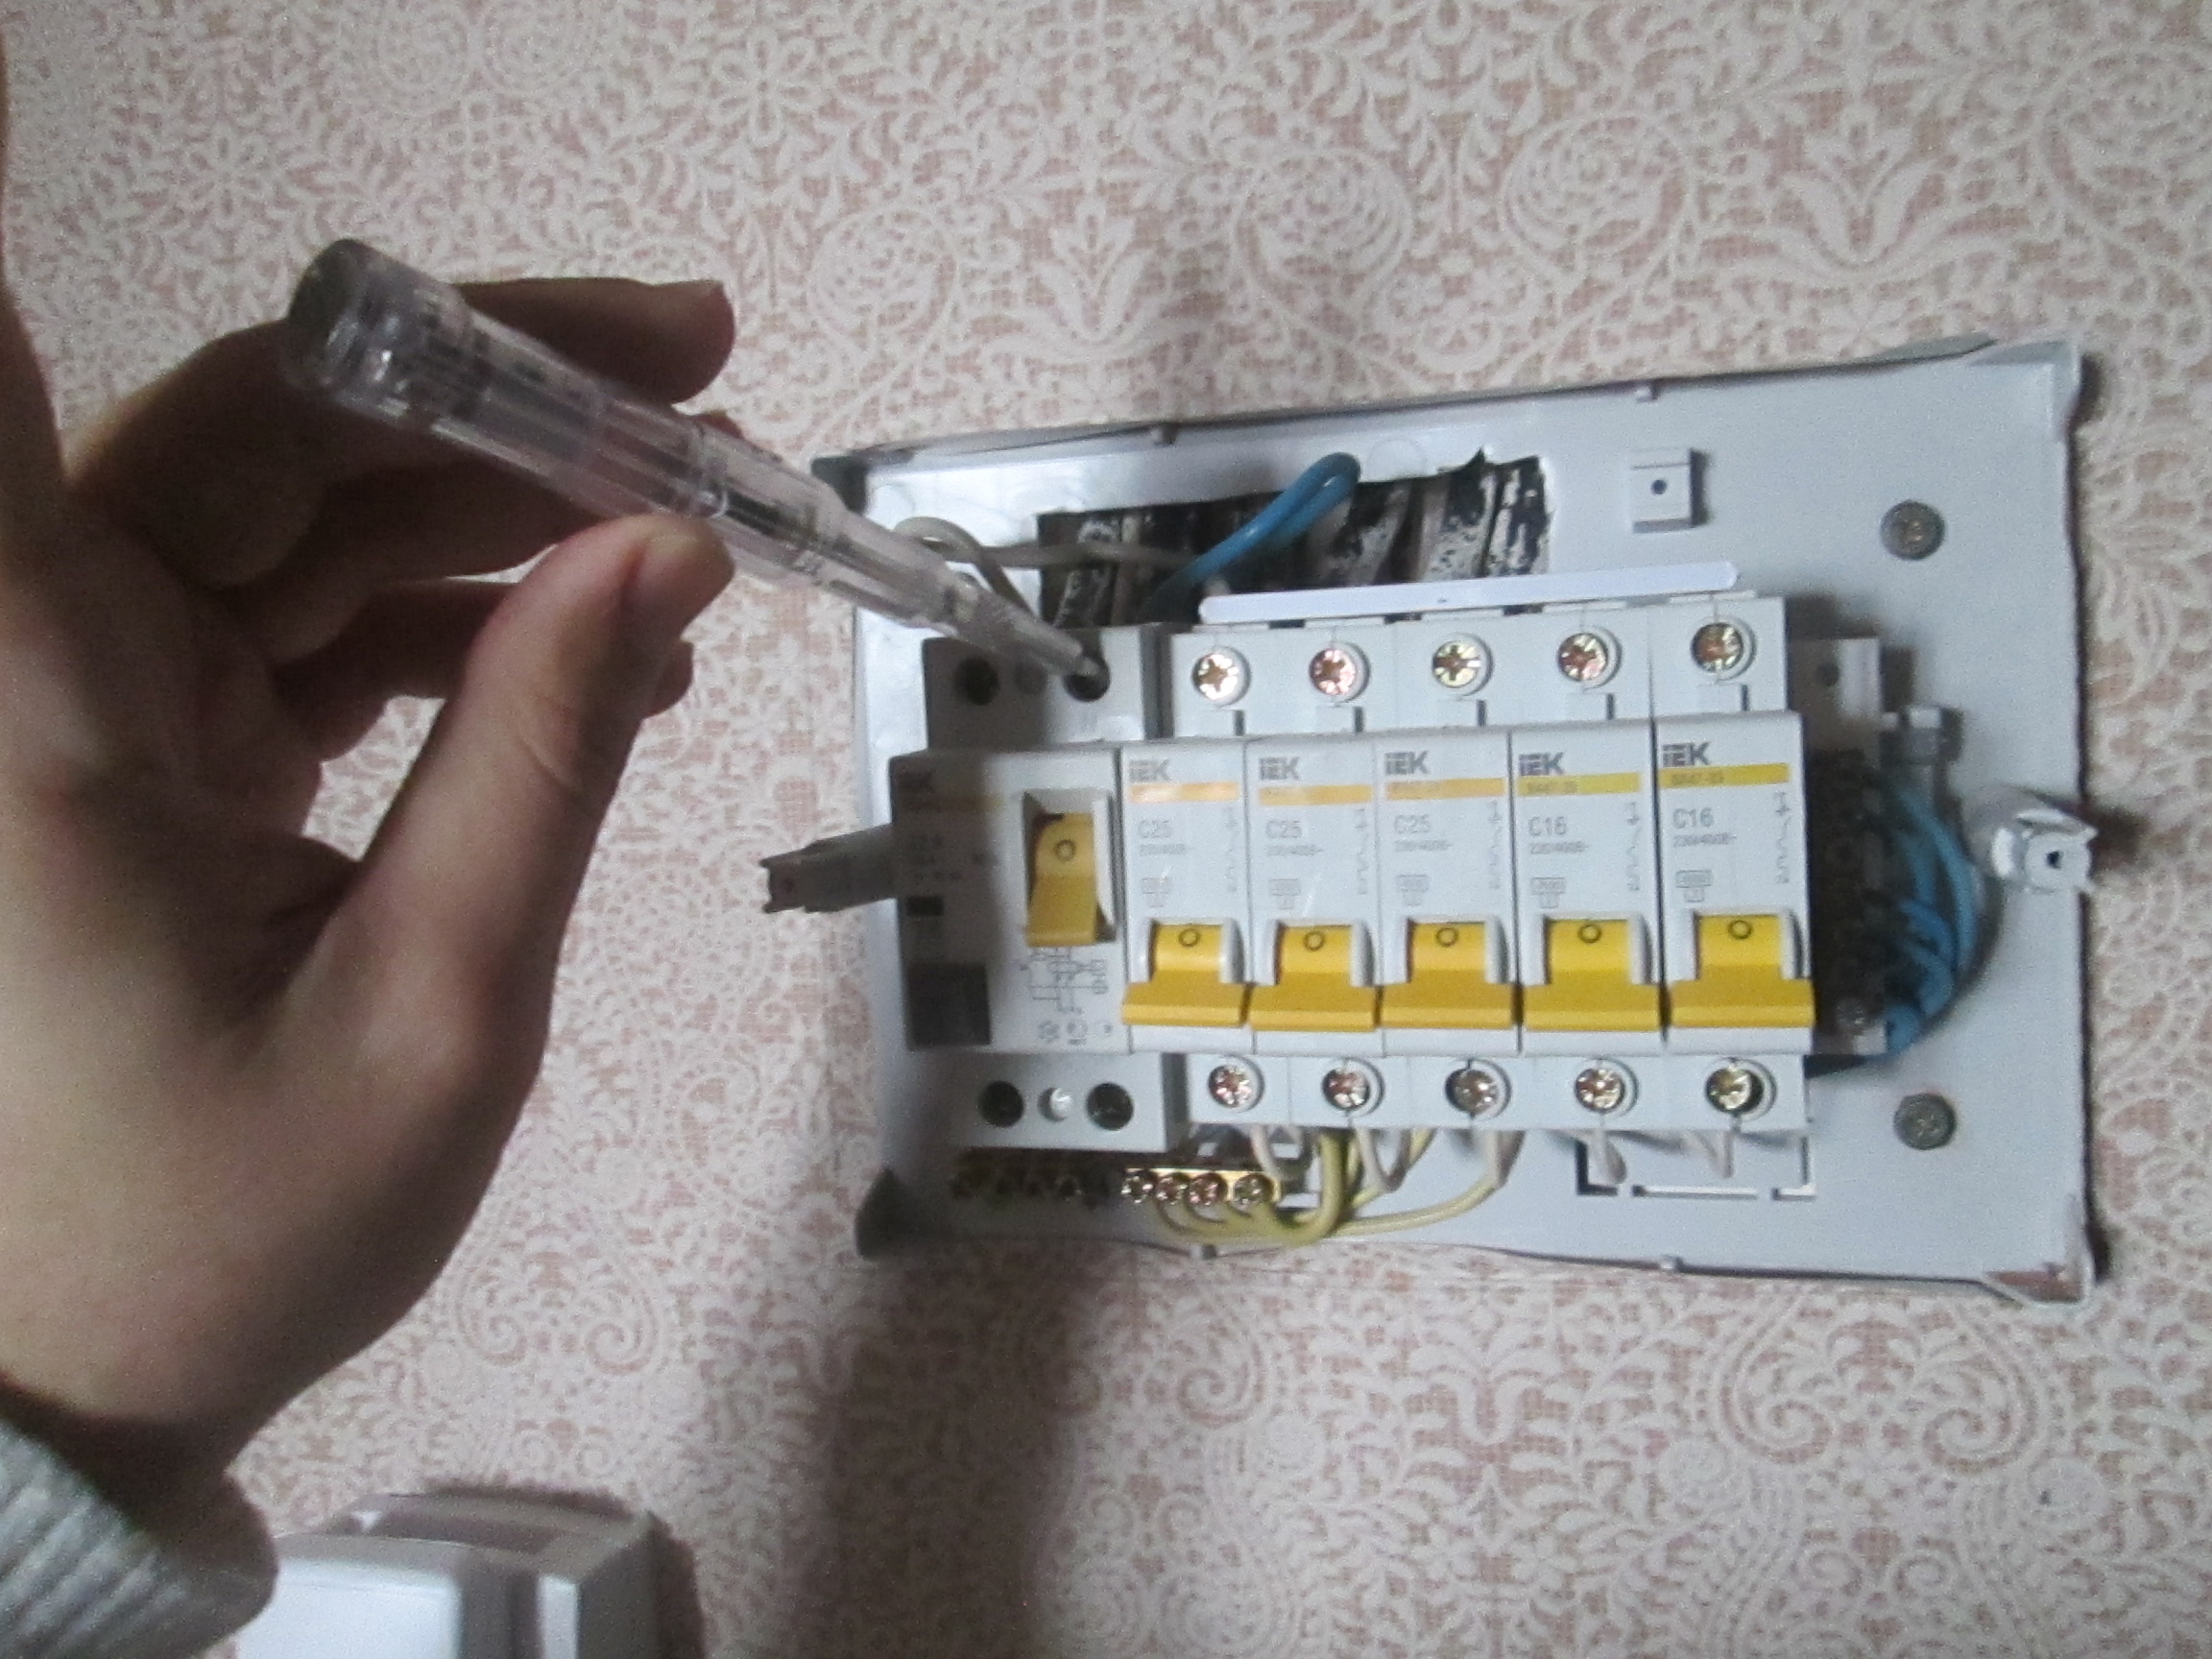
Fig. 30 Check for voltage at zero.
At zero, there is no voltage. We check for the presence of zero. To do this, touch the end of the screwdriver with your finger.

Fig. 31 Checking the integrity of zero.
The work in electrical installations has the right to be performed by trained qualified personnel having electrical safety approval groups and authorized to perform this type of work.
sunday, January 29, 2017 - 21:13
If to ask us, it would be much more interesting to know how the indicator screwdriver works and how the indicator screw works. To be aware of new products is very useful. For example, light bulbs with threadlike LED glow can work up to 30000 hours. This is about 10 years of tireless daily labor, exceeding the legislation 25%. Many will want to solve their problems once and for all in the literal sense of the word. But when we are told that it is possible to measure voltages in thousands of volts in a non-contact way and check the integrity of the circuits, then you involuntarily start to think about how to use the indicator screwdriver.
Indicator screwdrivers
It all started with simple indicator screwdrivers that reacted to the phase in the circuit. To many, this seems surprising, and in fact the thing is quite curious. Inside, there is a high-resistance resistance in series with a miniature gas-discharge bulb. Note that such test screwdrivers require the electrician to touch the reverse metal side of the handle. Otherwise, the light is off. Those who do not know such a simple feature of indicator screwdrivers may not see the potential, even where it is available, or take a neutral wire for the phase (if the LED serves as an indicator). And the whole point is that the current can be formed only in a closed circuit.
With one exception - when the capacity is charged. In this case we are talking about the human body. The first touch causes a sharp increase in current, which causes a breakdown of the spark gap of the light bulb. When released, the charge is extinguished in the tissues of the human body. And you can use a screwdriver again. Look at the picture: the view of our readers is presented by a disassembled screwdriver-tester. All the details are signed and stacked in the order in which they were inside:
- The conductive slot of the indicator screwdriver made of steel is pressed into the plastic housing tightly. It isolates the high-voltage part, blocks the possibility of a person touching it.
- High-resistance composite material leans against the conductive slot of the indicator screwdriver, the resistance of which considerably exceeds MOhm (for direct current tester). This cylinder is a limiting resistor, reducing the current in the circuit to insignificant.
- The heart of the indicator screwdriver is a miniature bulb, where a discharge is created in a microscopic bubble between two copper electrodes. Due to the ionization of the contents of the sealed bulb, we see a glow. That's why you can not ring this little piece of glass like a normal fuse. Interferes with the gap between the conductors.
- A steel spring transfers current to the contact portion of the cap, which is wrapped around the handle of the housing.
That's the whole device of the indicator screwdriver. All ingenious is simple. The current value is microamperes. Due to this, the electrician does not feel anything, touching the pad. But without this the test screwdriver will not work. You can make sure that the light will burn for a very long time. So what is the working principle of the indicator screwdriver? Think about: on the whole planet earthing systems are used. In the breakdown of insulation, a current flows there. Where does all this go?
Electrical capacitance The globe does not exceed 0.7 mF. Today, a small cylinder in an aluminum shell can contain many times more energy. But on the capacitor for some reason, no one grounding. The thing is that the energy of the electric current is rapidly dying out inside the Globe. Work is carried out mainly on heating the soil and radiation into space: the current oscillations decay.

Exactly the same thing happens in our case with the indicator screwdriver. The outlet is grounded to a person through very high radiation resistance. Inside the body, the current quickly makes its work and goes out. Due to which we can watch tirelessly how the indicator light of the indicator screw burns. Earthing occurs through the resistance of the radiation of the human body. An electromagnetic wave is formed that flows into space. This explains the fact that those products where the LED serves as a LED do not need to touch: there is no need to pierce the spark gap of the bulb, and the radiation goes directly through the contact pad.
If the first test screwdriver was simple, then today everything has changed. They are almost offered to replace the tester. The capabilities of indicator screwdrivers are so great that it became possible to register strong electromagnetic fields with them. And this is already an important feature, because everyone wants to know if his own monitor does not represent a health threat. And there is such a screwdriver just a couple of hundred. And you can wear in your pocket and everywhere you can find "bugs". Cool?
Modern screwdrivers indicators
In modern screwdrivers, indicators are batteries. Due to this, the device can catch a very weak signal. This service voltage is used to evaluate the parameters. The use of modern screwdrivers is as follows:
But the most valuable is that when using a remote test screwdriver, it becomes easy to observe security measures. In addition to all the above, modern cut devices allow you to check the presence of charge on various types of batteries, batteries.
How to choose an indicator screwdriver for yourself
Whatever lies on the counter, remember one simple rule: the most functional is that indicator screwdriver that has a battery. This directly indicates that the device is active, that is, it contains the amplifying cascades inside itself. Which increases sensitivity hundreds and thousands of times. As a result, all the interesting options that we talked about today are available. And there is not much difference in functionality, if, say, lies an indicator screwdriver with a display or just some glass. The main thing is to have a battery.
Of course, the parameters may vary, because the prices are not the same, but it is already necessary to read the passport with technical data. There it will be written whether there is the possibility of contactless work, what are the limits of measurement and, most importantly, how to use the indicator screwdriver.
Please note that now there is a time when everyone is trying to earn as much as he can. Some people try to sell an unnecessary product. Therefore, you need to clearly understand that for a serious test of transistors screwdriver is not good, and at the same time to measure it at least approximately the intensity of the field in front of the screen would be very cool. It is necessary to distinguish the functional and prefer devices that are as simple as possible, quickly and qualitatively solve the task.
We would also say that it would be nice to have a thermal imager at home. He's so good at finding the cracks in the windows. But when you look at the price for 100 thousand rubles, you realize that a bare hand, moistened with water, will make this work much cheaper. And 100 thousand rubles can be spent, for example, on new windows. Yes, even check that the installation did according to all the rules.